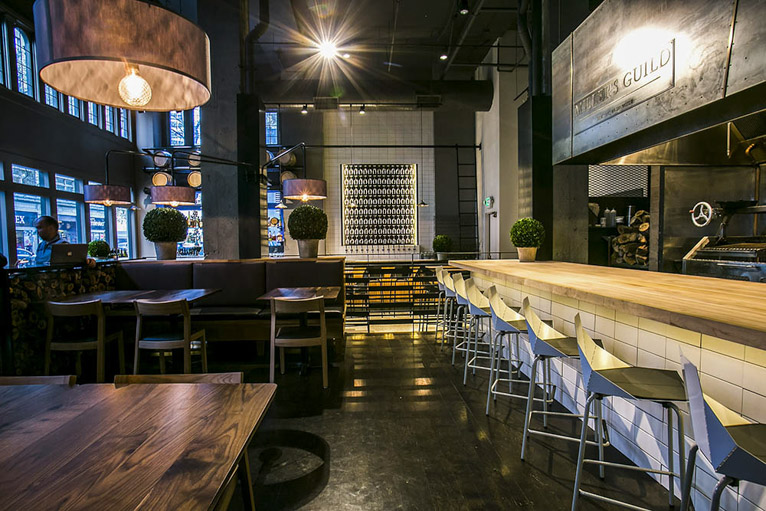
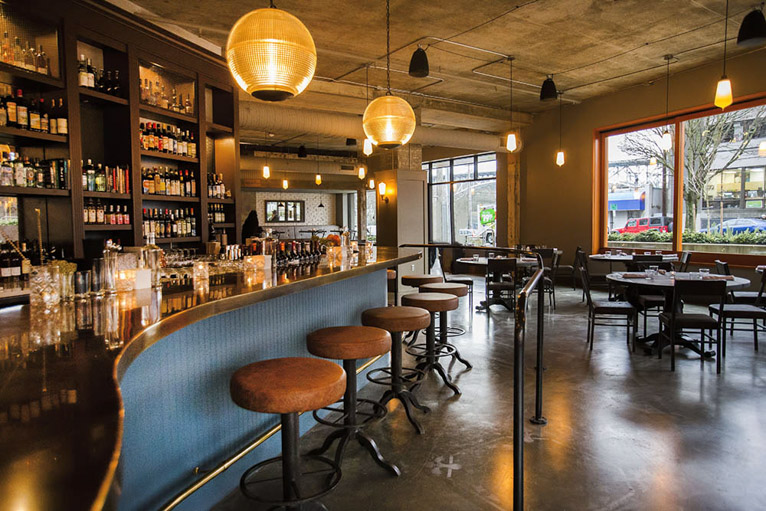
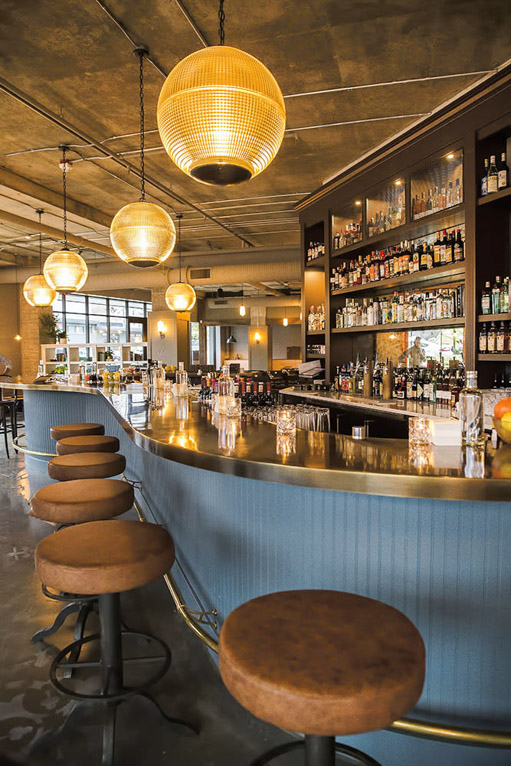
Whether you’re aiming to produce pro interior photography or just shoot show off cool spaces on Instagram, having basic interior photography skills is essential. So what can you do to improve your shots and make them stand out? Here are 8 tips to help you take pretty basic camera equipment and use them to take better interior photos.
1. Use a wide-angle lens.
Choosing the best photography gear is the first thing that can make or break your interior photos. While your exact choice of camera brand or body doesn’t usually matter, you should definitely have a full-frame camera (as opposed to a crop sensor camera), and the right lens to pair with it. Since interiors are often quite tight, this means a wide-angle lens. Typically, a lens within the 16-24mm range is just right. Anything wider than 16mm risks appearing too distorted, although this can often be fixed in post production if you have the prior know-how.
2. Check your aperture.
For interior photography, you definitely need to choose the best f-stop depending on the exact details you want to capture. If you’re shooting a large space and want most of the scene in sharp focus, choose a small aperture (bigger f-stop, such as f/9 or f/11). On the flip side, choose a larger aperture (smaller f-stop, such as f/4) to blur out unwanted background details.
3. Use a tripod.
To avoid camera shake and too much noise due to high ISO, it’s often best to shoot interiors using a tripod. This is especially true if you use HDR or bracketing (discussed below) to capture your images. A tripod might slow you down, but going at a slower pace can be helpful since it will force you to concentrate on framing and capturing the perfect shot. Tripods can also save your arms and back by taking on the weight of your camera and lens.
4. Natural lighting is best.
Interior spaces can be notoriously difficult to light with flash or artificial lighting due to the high amount of reflective surfaces. The last thing you want to do is make your photo look too washed out or add harsh shadows that don’t need to be there. As a result, it’s often best to utilize natural lighting when shooting interior photos, especially when working in tight spaces where it’s difficult to bring in a strobe or artificial light. With that in mind, consider how natural lighting will fill the space and schedule a photo shoot earlier or later in the day to avoid harsh daytime sunlight.
5. Consider using HDR or bracketing.
Since natural lighting is typically the best way to shoot interiors, HDR is sometimes the best choice to make sure your image has balanced shadows and highlights. Short for High Dynamic Range, HDR photography is sometimes frowned upon by photographers for producing highly exaggerated or unnatural looks. However, HDR can be very beneficial for photographing rooms with a huge range of light. Some cameras have built-in HDR shooting modes, whereas others will require you to take three photos (one normal, one underexposed, and one overexposed) and merge them in post production. Explore different ways to shooting HDR or bracketing and be sure to have them in your arsenal just in case.
6. Step in and make adjustments.
Take a careful look at every single detail in your shot. See something out of place, like a wrinkled blanket or trash can poking out from under a table? Step in and fix it. Interior photography is all about capturing beauty shots, so carefully compose every detail in the scene before pressing the shutter button. Also, consider doing a thorough walk-around of the entire space and viewing it from every angle. This will help you fix small details in person so you don’t have to spend extra time fussing with the blemish or clone tools in post-production afterward.
7. Shoot from multiple perspectives.
Interior photography can be tricky in that it can be tough to choose the best angle or perspective to choose from. As a result, aim to capture photos from at least two different perspectives. This will give you and your client if you’re working for one, options to choose from. You might even surprise yourself by composing a better image from an angle that you weren’t previously considering. Along the lines of adding variety, also try shooting both horizontal and vertical images. Typically, horizontal images are best for interiors, but in some cases, vertical shots can also work.
8. Make sure your shots are leveled.
The last tip for photographing interiors is also among the most important. As you’re setting up your shot, make sure it’s level. This means having clear-cut vertical lines and horizontal lines to make your walls appear straight. You can do a degree of distortion correction in post-production, but it’s always better to shoot your image correctly than fix it later on. Many cameras have built-in electronic levels, or tripods sometimes include bubble levels to help you straighten out.
Conclusion
Hopefully, these tips will get your started taking better interior photos. Have any questions? Comment below!
Latest articles by Suzi Pratt (see all articles)
- 8 Tips to Improve Interior Photography - March 6, 2017
- How to Start a Photography Business in 5 Steps - February 6, 2017
Suzi Pratt is an internationally published Seattle event and food photographer and blogger who teaches others how to start a photography business.
See All Articles by Suzi Pratt


This is a fantastic guide for anyone looking to elevate their interior photography! Your tips are incredibly practical, especially the emphasis on using a wide-angle lens to capture those tight spaces effectively. I appreciate the advice on aperture settings—understanding how to manipulate depth of field can really transform the final image. And yes, using a tripod is essential for achieving those crisp, clear shots without the worry of camera shake. Thanks for sharing these insights; they’re invaluable for both beginners and seasoned photographers alike!
We are glad to hear that you found this guide helpful!
I like your tip of shooting photos from different angles so both the photographer and the client have different views to choose from. My husband is a photography major and has been having some issues with taking interior photos. He’ll have to try this and see if it can add more dynamic to his photos.