With long-exposure photography, you can catch those breathtaking shots of water while in motion and produce almost magical photos. Water breaking over cliffs and rocks, and even running smoothly can look stunning in photos. One of the reasons that this technique is preferred by photographers is that the smoothing of water not only can show movement but it creates a more clean image with fewer distractions. The trick to catching these breathtaking images is a matter of practice, but these tips will help you get well on your way to mastering this technique.
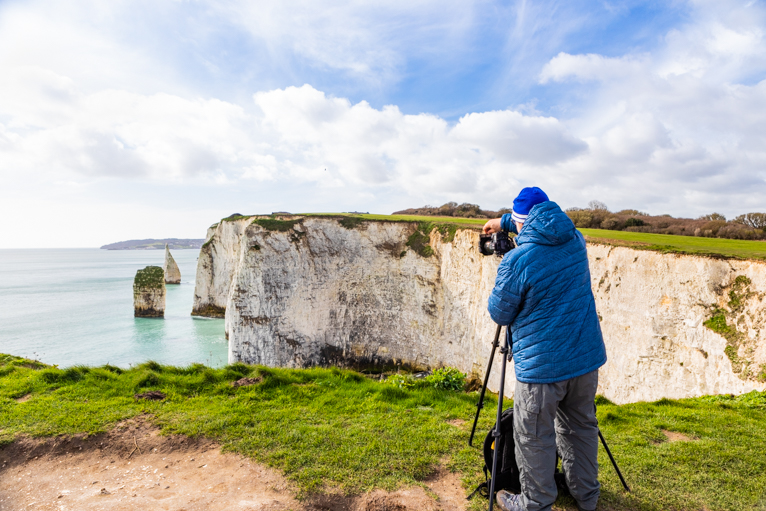
Get a steady tripod
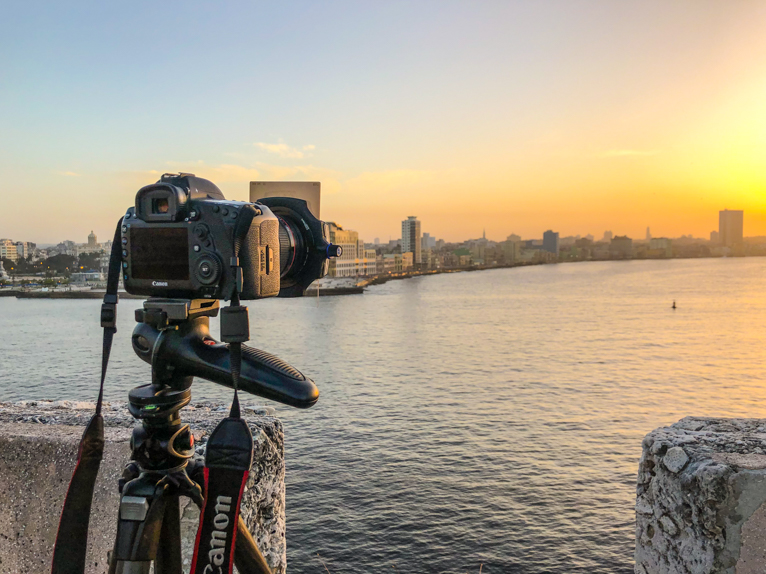
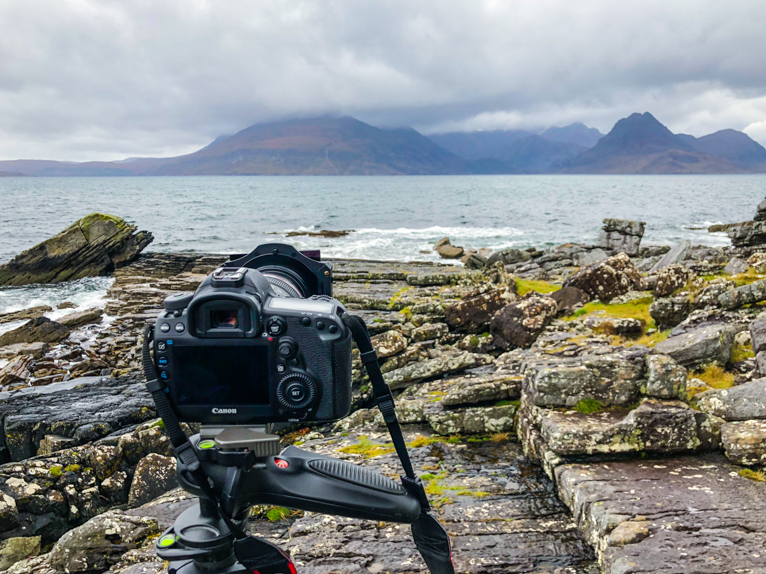
This tip is the first a pro will give you when it comes to any long exposure images, and ocean photography is no different. You need a reliable and incredibly sturdy tripod that won’t shift with the wind, and won’t drop your camera into the water or sand. Investing in an expensive, high-quality tripod will save you a great deal of grief and ensure that your shots look the absolute best they can. It’s also worth knowing that cheaper, poor quality tripods can create vibration in the legs that manifest themselves as movement in your image. In other words, your photo will look soft or even slightly blurred.
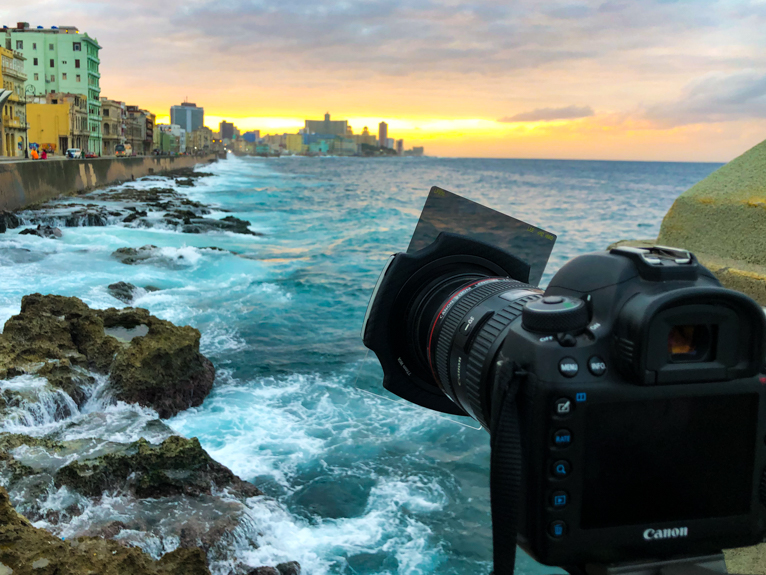
Learn how to use filters
The sun can be an enemy to long exposure photography and overexposes any pictures you try to take during daytime hours no matter what you do if you don’t have filters. Investing in a dark Neutral Density (ND) filters is a must if you want your photos to come out looking beautiful and without it being overexposed. Earlier or later in the day when the light is darker and the sun is lower in the sky, Graduated Neutral Density filters can help you balance the light in the scene. The brighter sky and darker foreground can be impossible to even out when taking the photo without a graduated ND filter.
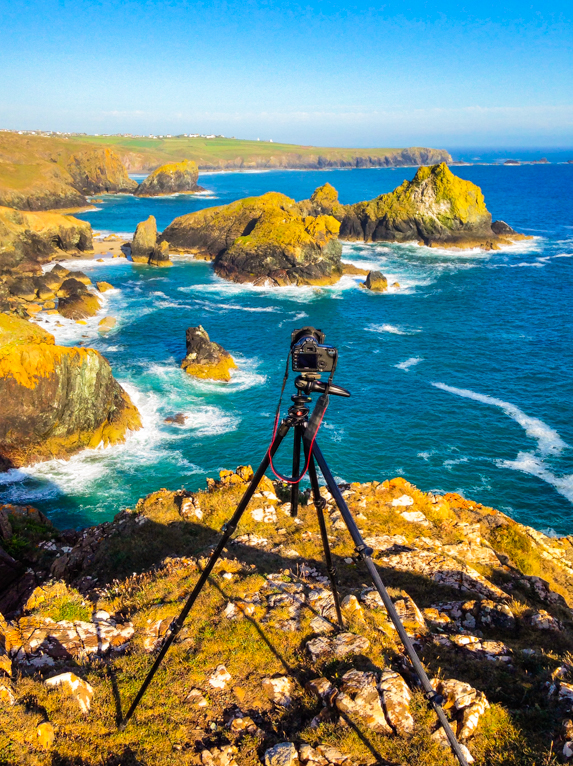
Scout for the perfect location
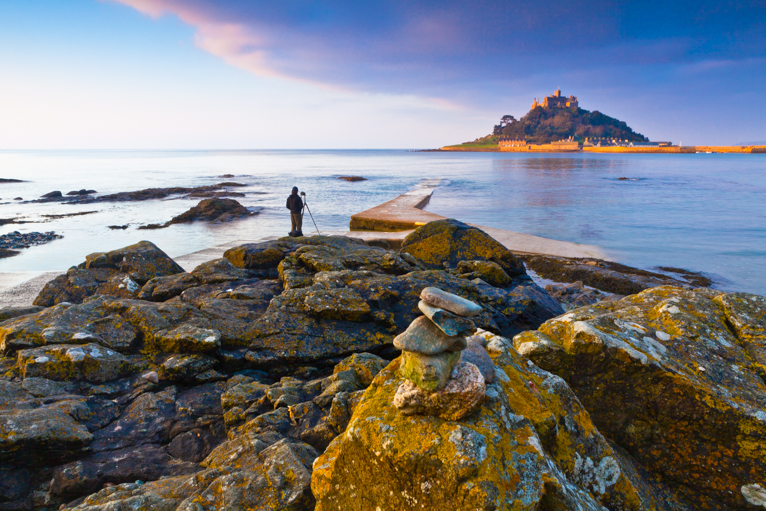
If you want your ocean photos to look stunning, you need to find amazing locations. You should scout out an area with rocks, cliff sides, docks, piers, anything that causes the water to break over it. Whilst a beach might also work, the big problem with beaches is sometimes a lack of interesting foreground subjects. If there are rocks formations in the water it will give you a much better end result. Breaking water over things like rocks create that foggy, smooth look for which long exposure ocean shots are known.

Look for a high vantage point
Being lower down on a beach can provide wonderful photos, but it won’t be able to show the viewer the scale of what you are looking at. Being high up can help get more of the formation of the coast and give the bigger picture. Try to avoid looking straight out to sea unless you have something of interest in the water such as rock formations, mountains in the background or even boats. A photo of just endless ocean will look pretty uninteresting. Instead, try to find angles that mean you can capture some of the coast along with the ocean. Not only will it make for better photos, but also give you more of a sense of scale.
Practice with the shutter speed
Different shutter speeds create very different effects on the image and give your photo entirely different looks. But it also worth keeping in mind that the conditions can also have an impact on how your shutter speeds affect the photo. For example, on a very windy day, you may not need a shutter speed as long as on a calm day. Here’s a rough guide to different shutter speeds:
- There is ultra-long exposure that is anything over 30 seconds. These shutter speeds will smooth out clouds and completely smooth out the motion of the water as well. Though it leaves the colour intact, all of the textures are entirely blurred.
- Long exposure is anything over 10 seconds. It will smooth out the water’s motion without totally taking away the sky and water’s textures like the ultra-long will.
- Finally, medium-length exposure is of about 2-9 seconds. With this shutter speed, you can still see motion and movement in the water, but it nevertheless gives it a silky quality to it. Unlike the other two, the motion isn’t wholly blended out into the image (by that will depend somewhat on the conditions of the day).
Choosing between these is up to personal preference, but playing around and experimenting in each location is never a bad idea.
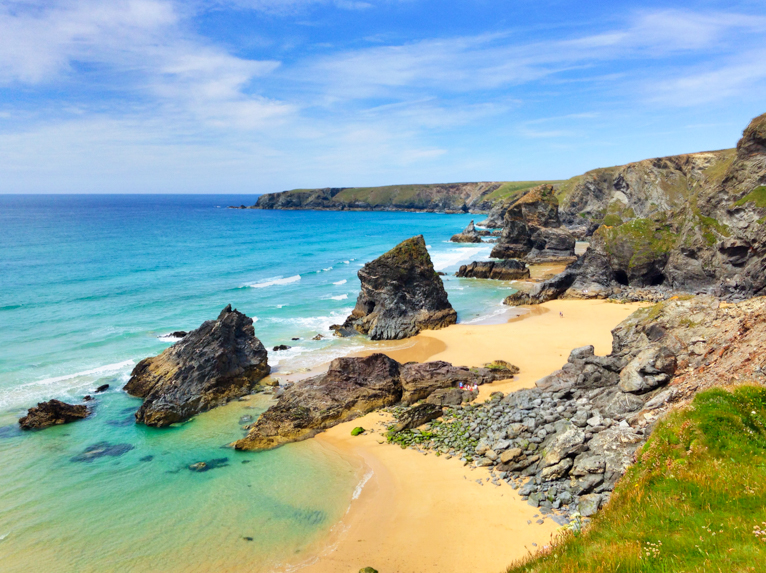
Consider the lighting
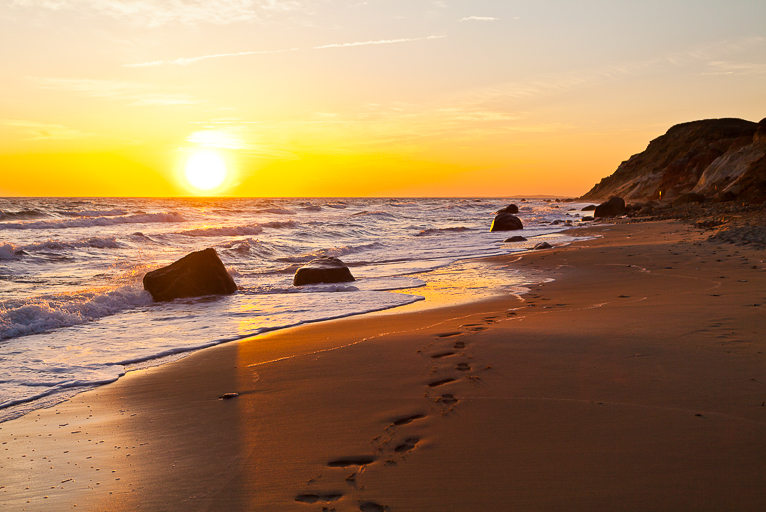
The best times to take pictures for this type of photography is the golden hour and blue hour. But even on overcast or cloudy days, you can capture great long exposure ocean shots.
- Golden hour is after sunrise and before sunset when the sun is low down on the horizon. These times of day create a softer light with more gold, yellow and orange highlights. Some places are even more striking at the golden hour like shallow water and even beach pebbles. The golden hour comes and goes pretty quickly, so arrive early so you can set up and be ready to take your shots.
- Blue hour is after sunset, and before sunrise when the sun is usually out of sight but is still illuminating the sky in cooler colours. This time will create fascinating colours like soft, bright blues, pinks and oranges.
- Overcast and cloudy days create more dramatic and dark compositions while still allowing you to take long exposure photos in the middle of the day. These photos don’t have the hindrance of the sun, and often, people aren’t outside during overcast days. So you have a clean and clear image, free of people. If you use a graduated ND filter to darken the sky, you can often pick up details in the clouds to create stormy and eerie images that are dramatic and striking to look at.
Use a wide-angle lens
Using a wide-angle lens is a simple tip as it allows you to capture more of the beach or cliffs. The wide-angle helps create more depth to the photo by pushing the background objects further away from the foreground. Though this tip is hardly a requirement, taking a wide-angle lens allows you to play with perspective and helps you give the image a different look.
Conclusion
Taking long exposure pictures creates incredibly unique and stunning photos. With these seven tips, you can improve your photography skills and start taking breathtaking ocean landscape shots in no time. The great thing about photography is that it leaves lots of room for creativity, and many of these tips can be mixed and matched to create unique photos in a style wholly your own. Whether you’re a beginner photographer, or just wanting to improve your ocean photography, these tips are just a few ways to capture better ocean photo.
Photo credits: Kav Dadfar – All rights reserved. No usage without permission.
Latest articles by Kav Dadfar (see all articles)
- How To Photograph Street Performers - April 26, 2022
- Profiled Photographers – Ben McKechnie - August 24, 2021
- Profiled Photographers – Jim Maher - August 24, 2021
is the founding editor of JRNY Travel Magazine as well as a professional travel photographer and writer based in the UK. His images have been used by clients such as Condé Nast, National Geographic, Lonely Planet, Rough Guides and many others. Kav is also the co-founder of That Wild Idea, a company specializing in photography workshops and tours both in the UK and around the world.
See All Articles by Kav Dadfar


Leave a Reply