Winter is one of the best times of the year for outdoor photography; especially landscapes. The cold, crisp air will ensure you do not get as much atmospheric haze and so your images can appear sharper. Icy and snowy conditions can also provide a wonderful subject in photos. Often any landscape scene looks even more impressive with a dusting of snow as the contrast of the white and darker areas really stands out. But photographing in winter comes with its own challenges. So here are 6 tips for photographing in winter.
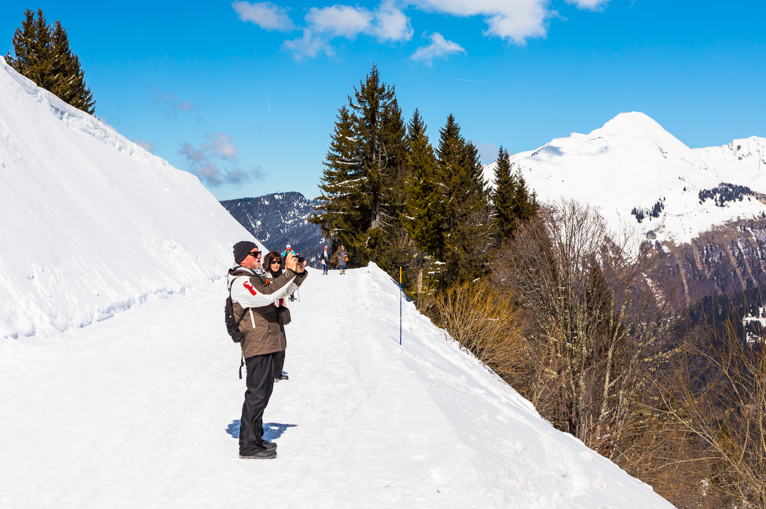
Make sure you are prepared
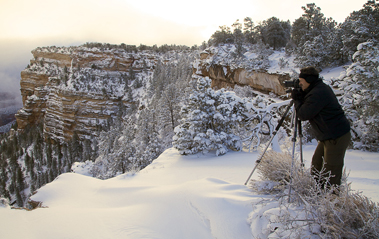
The first part of any successful shoot is preparation and this is even more vital in winter. So before you set out to photograph make sure that you are going to be warm enough. Keep in mind that temperatures can drop dramatically early morning and late afternoon and even more at night. You should also make sure that you have a good quality pair of gloves as your hands will be out most of the time. Also, make sure that you take plenty of batteries with you as cold conditions drain batteries faster. Lastly, always make sure that you have some outdoor essentials with you such as a torch or even a first aid kit. It’s easy to slip on ice in winter conditions so it is best to be prepared.
Don’t forget your polarizer
Besides your tripod (if you are planning to be shooting in low-light conditions such as sunrise or sunset), a polarizing filter can be invaluable in winter conditions. Not only will a polarizer help cut unwanted reflections on ice, snow and even water, but it will also help bring out the blues and greens in your image. So your beautiful snowy scene can be complemented with a bright and striking sky. Even though at this time of year there shouldn’t be as much haze in the sky, if you do encounter some, a polarizer can help add some contrast to those areas.

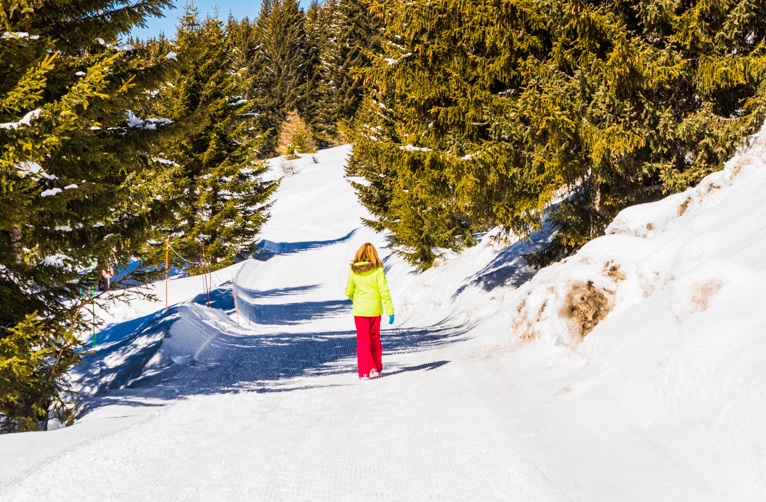
Shoot all-day
Even though the days are shorter, one of the best things about winter is that the sun remains low in the sky for long periods. This translates to more time with the best light for outdoor photography. The low sun will help enhance shadows and give the scene much more contrast. The other great benefit of photographing in winter is the much more manageable sunrise and sunset times. After all, wouldn’t you prefer to be getting up at 8 am rather than 4:30 am? Because of the low sun and easier sunrise and sunset times, you can pretty much shoot all day. Something that would be very exhausting in the summer months.
You may need to overexpose
One of the biggest challenges when photographing in winter months is getting your exposure correct. It might seem strange but if you are faced with snowy conditions you will actually need to overexpose your image to get the correct exposure. The reason for this is that the snow will make the scene seem very bright and trick your camera’s light meter into thinking that it needs to underexpose. This means that your photo will look darker and the white areas such as snow will have a grey tint to them. The way to combat this issue is to overexpose your image by around 1 stop. This will help give your scene a much more natural look and make the snow appear more white.
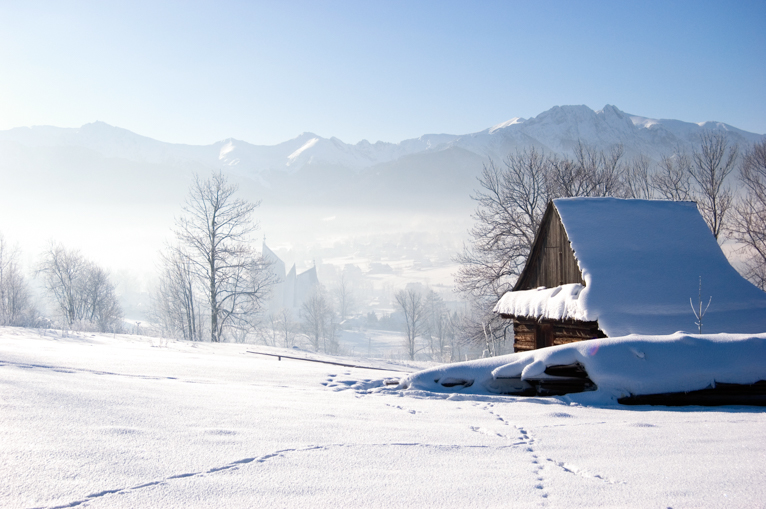
Set the right white balance
Sometimes you may find that your photo suffers from an unnatural tint. This is especially evident when photographing snow on bright sunny days (also overcast or cloudy days) when often you’ll get a bluish tint across your image. You can either fix this at the time of shooting by adjusting the white balance on your camera or if you shoot in RAW format, in post-production. The great thing about shooting in RAW is that even if you selected one of your camera’s white balance modes at the time of shooting, then you can switch to others in post-production.
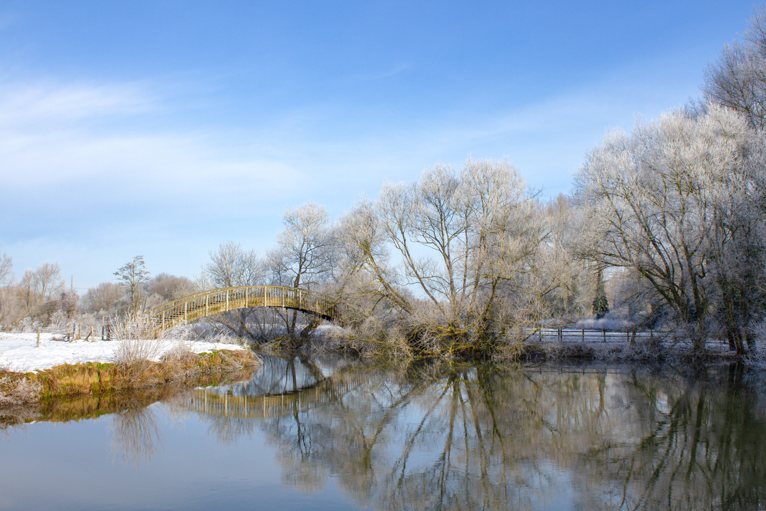
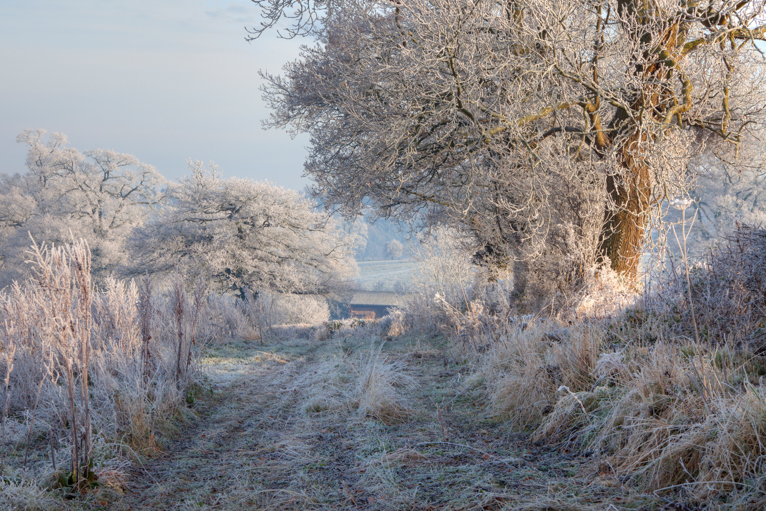
Find the right scene
There are a lot of positives when photographing in winter. But one of the negatives is being able to make your photo seem interesting when you have a snowy scene. The problem with heavy snow is that it blankets over all of the interesting textures and colours that are around us. So to make a winter scene really stand out you often have to be a bit more careful with your composition. The key is to find the right scene with some form of point of interest that you can build around. It could be a house, trees, river, rocks or even animals or people. So be on the lookout for these elements that can give your photo a bit more context and help the composition.
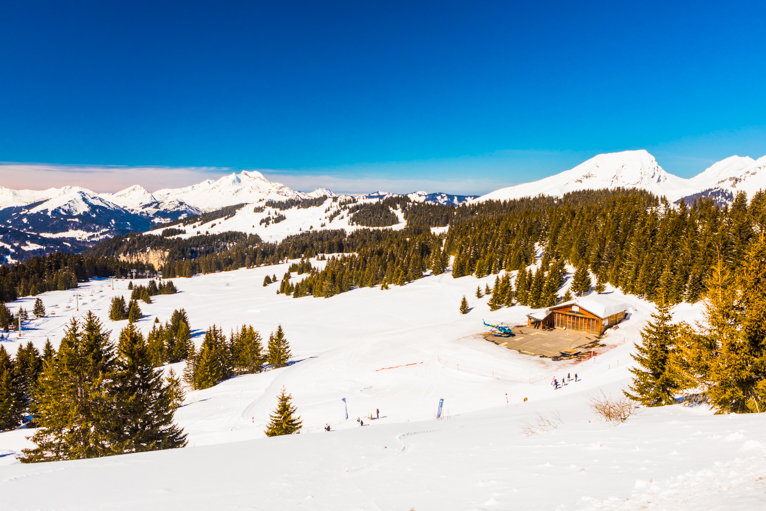
Winter is truly a wonderful time to be photographing outdoors. If you can brave the conditions then often you will be rewarded with some stunning photos. Follow the tips above and you will be well on your way to capturing great winter photos.
Photo credits: Kav Dadfar – All rights reserved. No usage without permission. Dreamstime.
Latest articles by Kav Dadfar (see all articles)
- How To Photograph Street Performers - April 26, 2022
- Profiled Photographers – Ben McKechnie - August 24, 2021
- Profiled Photographers – Jim Maher - August 24, 2021
is the founding editor of JRNY Travel Magazine as well as a professional travel photographer and writer based in the UK. His images have been used by clients such as Condé Nast, National Geographic, Lonely Planet, Rough Guides and many others. Kav is also the co-founder of That Wild Idea, a company specializing in photography workshops and tours both in the UK and around the world.
See All Articles by Kav Dadfar


Leave a Reply