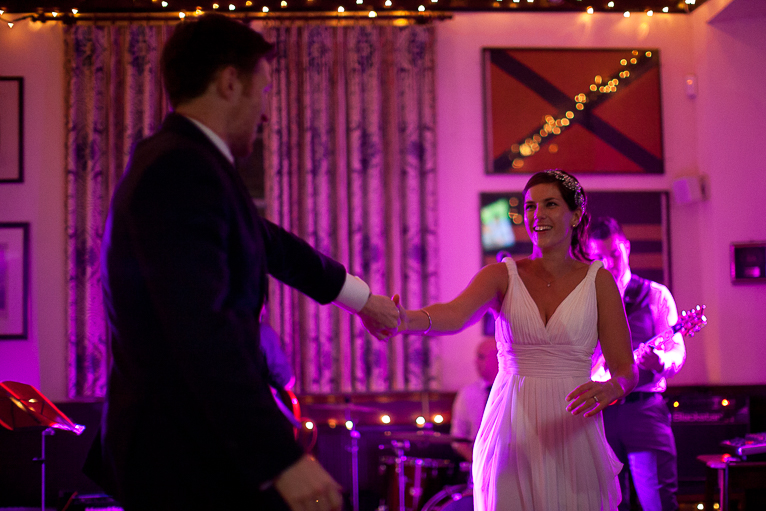
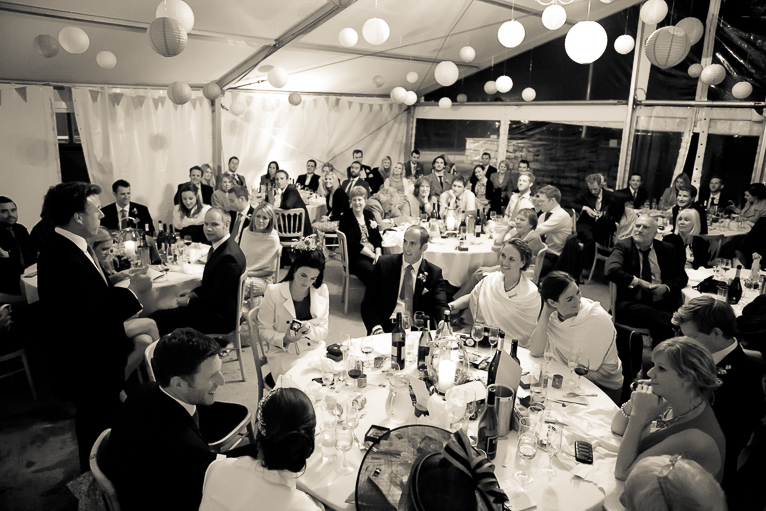
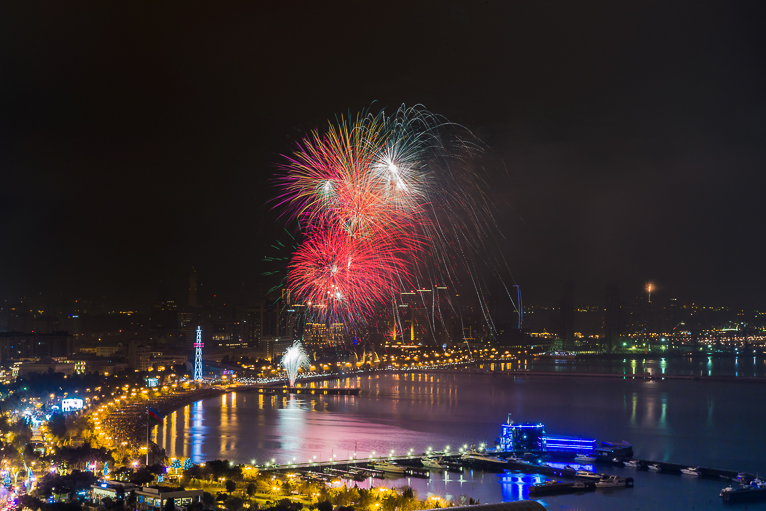
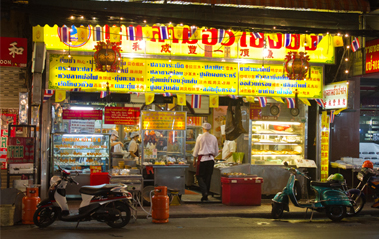
Imagine that one perfect moment about to unfold before your very eyes. The bride and groom meet, their smiles barely contained. You raise your camera, wait for just the right composition, and click open the shutter. To the naked eye, this frame in time couldn’t look any better. Unfortunately, you didn’t bother to check any of your camera settings and the photo is dark, dull, blurred, and barely viewable. How can you avoid this blunder? Night-time event photography can be incredibly difficult for even a trained professional, so there’s no shame in realizing that you need to incorporate a few tips and tricks to get a better night-time photo. Check out these 6 tips for night-time event photography to make sure that your photos come out as best as possible.
Use artificial lighting
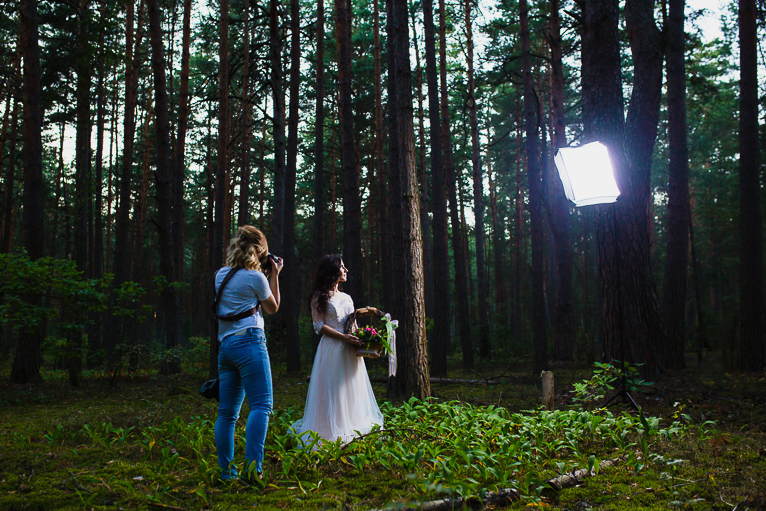
For night time event photography you may have no other choice than to use some sort of lighting like a flash. But using a flash effectively to capture a photo that isn’t washed out takes skill. Try to bounce the flash off a surface like a wall or ceiling rather than directly on your subject. You may also find it useful to use a softbox/diffuser to make the light a bit less harsh. The best way to use a flash well is to practice.
Don’t rely on autofocus
The first thing to understand about night-time photography is that it’s dark. It sounds silly to point this out, but you would be surprised by the number of photographers that come ill-prepared to snap pictures at a night-time event. The dark surroundings cause havoc with the autofocus and your camera will struggle to keep up with the varying light levels available.
It’s good practice to switch off your autofocus before you arrive at the event and then to make sure that you keep it off. If you step inside for a moment and you’re relishing the plethora of light sources, switch your autofocus back on but remember to go back to manual focus afterwards when you are in the darkness outside.
Try bracket exposures
Bracketing your exposures involves taking the same photo a series of times, but with different exposure settings. This allows you to experiment with the brightness of an image in advance, thereby getting a feel for the light levels of the night-time event. Try adjusting the shutter speed to see what exposure time works best in the circumstances.
Some cameras offer an automatic bracketing function, so definitely take advantage of it if you can. This technique also has the added benefit of using the various images to create HDR, or High Dynamic Range, images. Using an editing software or even in-camera in some models, you can recreate the exposure range and have a surprising depth of detail in your photo by using HDR.
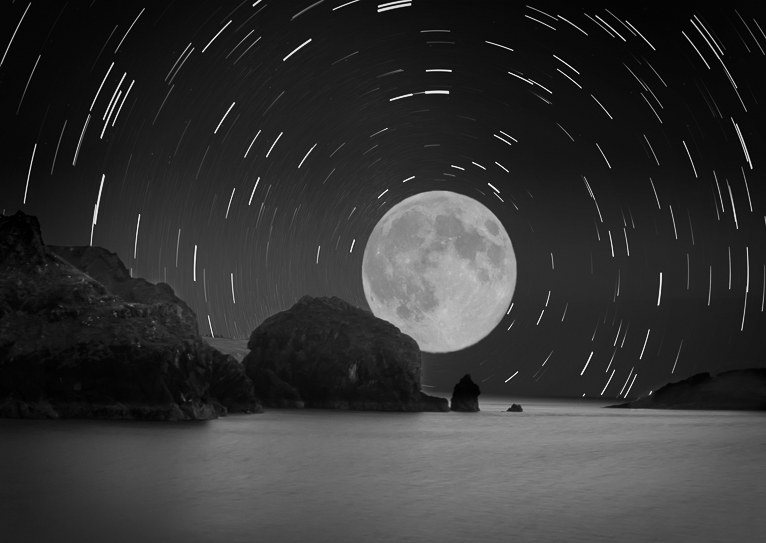
Use a tripod
Night-time event photography means low light, which also means slower shutter speeds are going to be necessary for longer exposures. The longer your exposure time, the more likely you are to get blurred images not just if the subject moves, but if you move as well. Just counting on your arms to remain steady long enough for that one perfect shot is not going to work. No one will be able to hold a camera steady enough for even 1 second to avoid camera shake. So invest in a tripod so that your subject, whether it’s the slow rising moon or the wonderful city skyline come out crisp and clear when you’re forced to use a longer exposure.
Selecting the right tripod is important too. It needs to be lightweight and sturdy enough at the same time to be able to withstand the weight of your camera. You’ll want to choose a carbon fibre tripod as these are less susceptible to vibration than aluminium ones.
Use RAW format
Taking photos in the RAW format means that you’re capturing a lot more detail in your digital images that aren’t being compressed like they would if you were shooting in JPEG. A JPEG file, while smaller, doesn’t really get as much detail as you may want when shooting a night-time event, so if you have the storage space, shooting RAW is the way to go. You’ll need to do some editing afterwards, but it’s worth it to make sure that you’re preserving the image, given the limited light.
This also reduces the chances of grainy photos since RAW files retain their quality, even after post-processing.

Try out bulb mode
Admittedly, this is not a setting you would want if you anticipate live subjects. This setting on your camera means that the shutter will remain open while you’re pressing the shutter button, which means it’s unlimited exposure. The shutter won’t close until you let go.
However, for some truly intriguing images at night-time, bulb mode can give you an entirely new look and feel. For many cameras, the longest shutter speed available is 30 seconds. You’ll probably want to choose a larger f/stop when trying out bulb mode, something like f/18 if you plan on leaving the shutter open for a couple of minutes.
Bulb mode can let you create a photo like a painting, where the moving light sources become your paintbrushes. You will have to set your camera on a tripod to keep it steady and avoid camera shake.
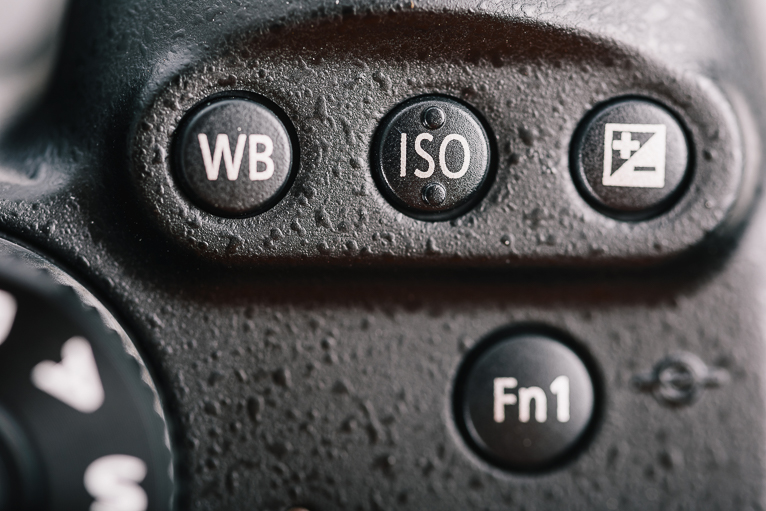
Select high ISO
The greater the ISO, the brighter your image will be. However, this can be a tricky setting to play with, because as you increase the ISO you will also get more noise (a term that means visual distortion in digital photography). It’s a compromise you may have to make, but for low light photography where you will also need a fast shutter speed, there is no other option.
Night-time event photography is one of the most difficult genres of photography to master. But with practice and using the advice above, you will be on your way to capturing great night-time event shots.
Photo credits: Kav Dadfar – All rights reserved. No usage without permission. Dreamstime.
Latest articles by Kav Dadfar (see all articles)
- How To Photograph Street Performers - April 26, 2022
- Profiled Photographers – Ben McKechnie - August 24, 2021
- Profiled Photographers – Jim Maher - August 24, 2021
is the founding editor of JRNY Travel Magazine as well as a professional travel photographer and writer based in the UK. His images have been used by clients such as Condé Nast, National Geographic, Lonely Planet, Rough Guides and many others. Kav is also the co-founder of That Wild Idea, a company specializing in photography workshops and tours both in the UK and around the world.
See All Articles by Kav Dadfar


Leave a Reply