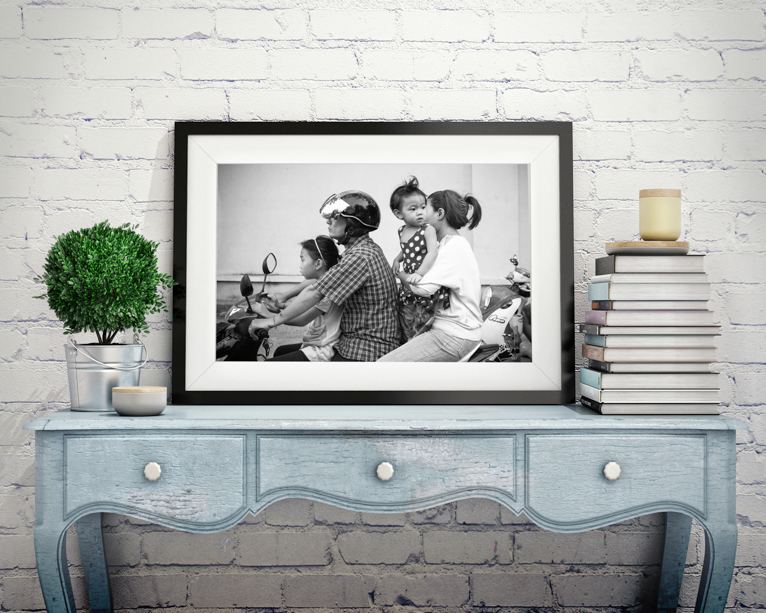
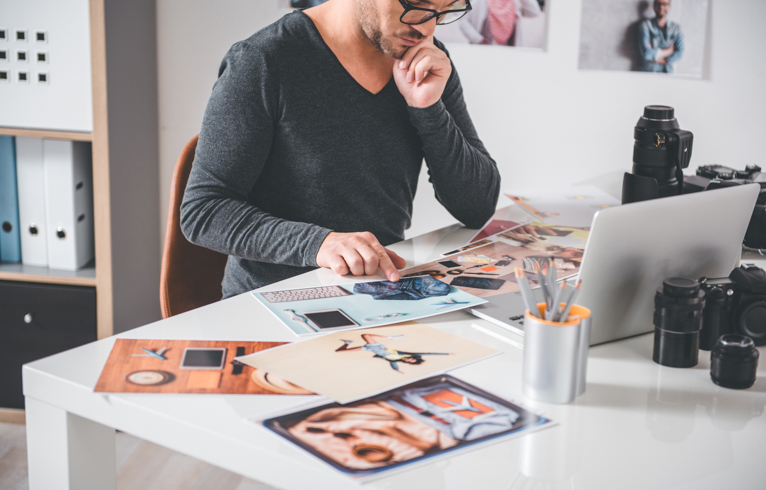
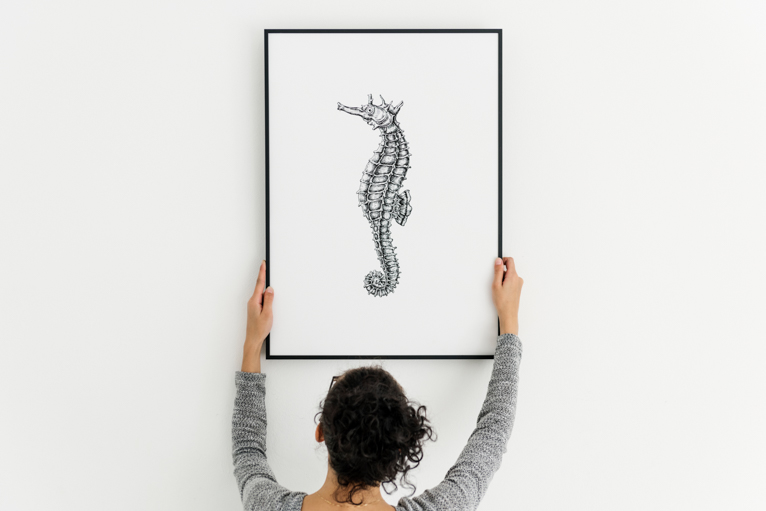
For a lot of people, their photos end up just sitting on their hard drive for eternity never to be seen by anyone. One of the great ways to combat this is to get your best photos printed as artwork to either sell or put up in your own home. Doing so will mean you actually see your work rather than it being hidden away. There has never been an easier time to get your work printed. Wherever you are in the world there will likely be options for printing your photos in a variety of formats and costs. If you have never considered it, now might be the best time. To help you, here are some handy tips to ensure your photos come out as well when printed as they look on screen.
Check your image
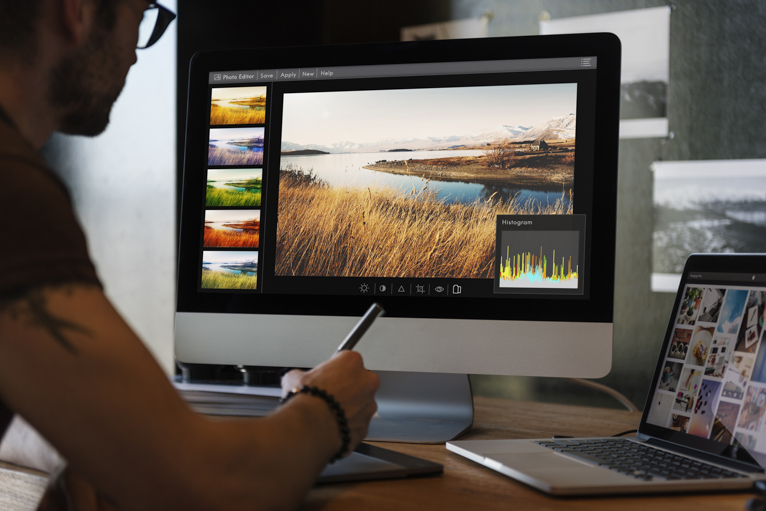
The first element of printing your photo is to check it thoroughly all over. This is best done by zooming into your image at 100% and checking every inch of it. Look for blemishes and dust particles. Be especially vigilant on blue skies which show up these particles really clearly. Also, check for things like Chromatic aberration, excessive noise and that your image is sharp. Keep in mind that print is a lot less forgiving than the screen for which you can get away with if your images are not sharp.
Crop your image
It is important to pay attention to the size or rather the ratio of the final print that you are hoping to get. If you are using a full-frame camera or a cropped sensor, your images will be at an aspect ratio of 3:2. This means that if you are printing your photo at say 8 x 12 size, the image won’t need to be cropped and will fit the dimensions of the paper perfectly. But if you decide to print it in an 8 x 10 size then the aspect ratio of the image changes and so there will be some cropping of the image needed. Most print services these days allow you to do this online when you are ordering your prints or you can use editing software such as Lightroom to crop your image before uploading.
Calibrate your monitor
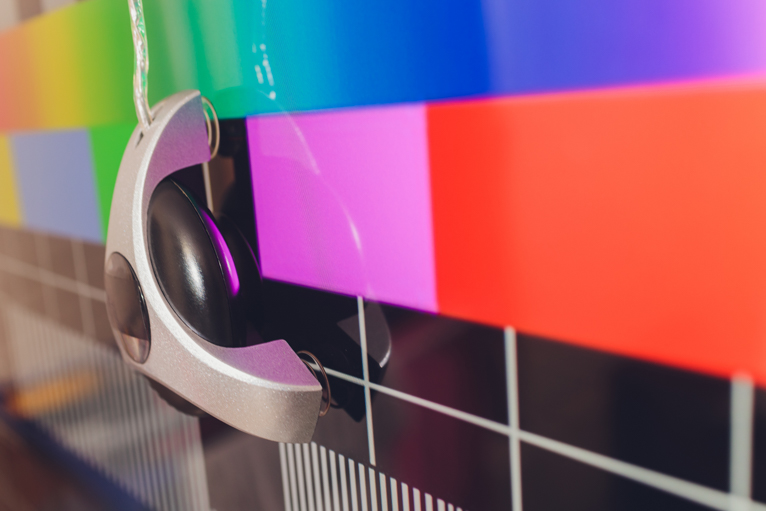
Most people never calibrate their monitors and whilst this is fine if you are just taking photos for yourself or to use on social media, it is highly recommended that you do so when printing your work. Calibrating your monitor ensures that the colours that you see on your monitor are as close to what they should be. Ideally, you should calibrate your monitor regularly (at least once a month) and even more so if you have an older monitor. You will need a device such as the SpyderX to calibrate your monitor. But don’t worry this is quick and incredibly easy to do.
RGB or CMYK?
One of the biggest challenges when printing your work is in trying to match it as closely as possible to what you see on screen. To do this you should understand the basics of the difference between screens and printed as they vary quite a lot in the way they show an image. All screens from monitors to smartphones use RGB colour. This means that images are made from a combination of reds, greens and blues. Printers, on the other hand, have to use physical ink to make up colours as so they use cyan, magenta, yellow and black. This makes a big difference in how colours are shown which tend to be darker when printed using CMYK.
The lesson to learn here is that when you are sending your files to print you should ensure you save them and more importantly check them when they are CMYK as the colours might look different. This might mean that you will want to tweak the colours to combat this issue.
Check the dpi
As mentioned earlier, in print your photos will need to be much sharper than they might be on screen. So an important part of this is that you need to ensure that the resolution in your photo is going to be good quality. You may have seen things like 72 dpi or 300 dpi. Well, printing is where you need to take notice of this. DPI stands for dots per inch (or in today’s digital world pixels per inch PPI).
Generally, anything that is shown online including on social media, websites and even your phone can be 72 dpi. Because often the file size of a photo is of vital importance so saving in a lower resolution allows a good balance between sharpness and file size. Think about like this, if you visited a website you wouldn’t want it taking ages to load which is what would happen if the image resolution was too high.
When printing, file size isn’t an issue and the sharpness of the photo is of vital importance. So the best way to ensure that your images will be sharp when printing them is to supply them at 300 dpi in as close to the print size as you can get. You can get away with a lower resolution in smaller prints like say a 6 x 4 or 7 x 5 print but at larger sizes, your photos need to be 300 dpi.
Use the right material
Like anything in life, the better the quality of the materials that you use, the better your final product will be. This is no different when it comes to prints. Things like paper, the actual printer and the ink will all make a difference to the outcome. That doesn’t mean you should go for the most expensive option, but rather know what you want to achieve and choose accordingly. For example, matt paper works better for muted and pastel colours. Whereas gloss is better for more vibrant and saturated colours. The best thing to do is to speak to your printer before printing your work and ask them for the options available.
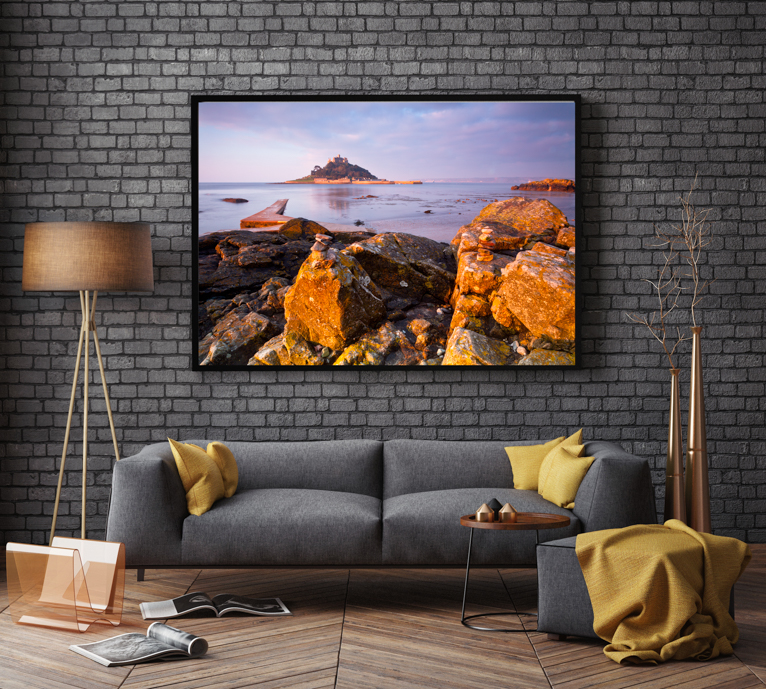
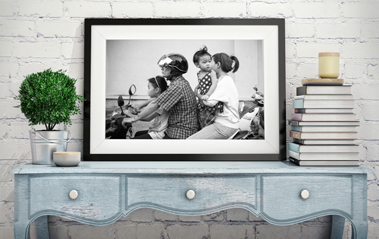
There is nothing more rewarding for a photographer than seeing an actual physical copy of their photo. After all, you did all the hard work in capturing and editing that shot, so now it’s time to enjoy seeing it in the flesh. Printing your work for yourself or others is incredibly satisfying and these days easy to do. So why not try it? Go through your images and find those gems that would look great when printed. But make sure you use the tips above to ensure that they come out stunning.
Photo credits: Kav Dadfar – All rights reserved. No usage without permission. Dreamstime.
Latest articles by Kav Dadfar (see all articles)
- How To Photograph Street Performers - April 26, 2022
- Profiled Photographers – Ben McKechnie - August 24, 2021
- Profiled Photographers – Jim Maher - August 24, 2021
is the founding editor of JRNY Travel Magazine as well as a professional travel photographer and writer based in the UK. His images have been used by clients such as Condé Nast, National Geographic, Lonely Planet, Rough Guides and many others. Kav is also the co-founder of That Wild Idea, a company specializing in photography workshops and tours both in the UK and around the world.
See All Articles by Kav Dadfar


Leave a Reply