Over the years I have been contacted by lots of aspiring photographers looking for tips, advice or even just to review their images. I often find that the vast majority make the same mistakes. These are usually simple things that could easily be avoided or corrected in post-production. Just removing these small errors will mean you will improve your travel photos. So here are 6 travel photography mistakes to avoid when starting out.
Wrong time
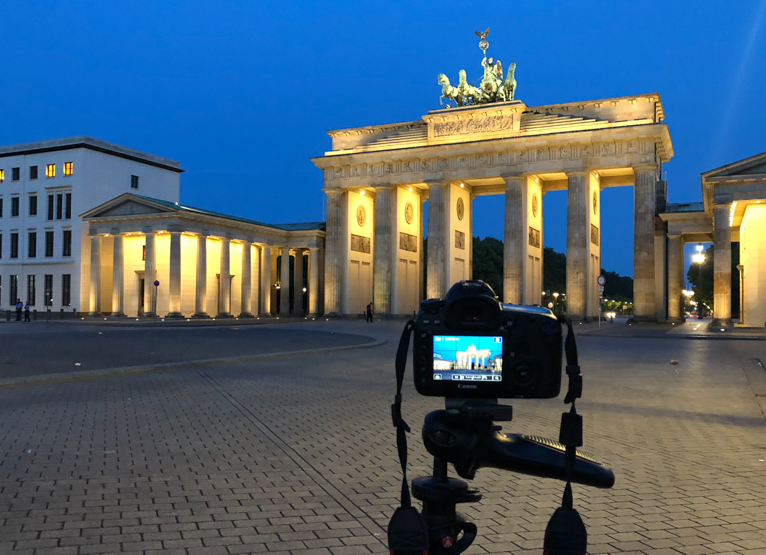
One of the biggest mistakes that newbie photographers make is simply taking the photo at the wrong time. In any outdoor photography light is a key component of the photo. A beautiful scene can look dull and uninteresting in the wrong light.
So, one of the most important things to try to improve is just taking photos at the right time. For example, in landscape photography, this would usually be early in the morning or late afternoon when the light is soft. For portraits, a cloudy day works best as you’ll get an even light across your model’s face. Always remember that every scenario or scene has the best time to photograph it. Try to work out what this is and plan your shoot for that time. If you are unsure what the best time is for a particular scenario do some research online. There are so many different resources out there that you will usually find the answer easily and quickly.

Not the correct settings
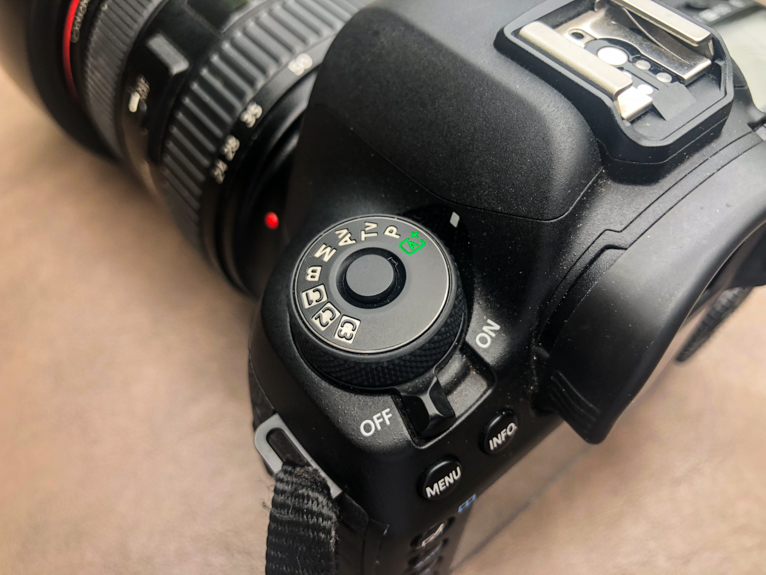
One of the most common questions I get asked by beginner photographers is “what settings should I use for this scenario”? The reality is that there isn’t one setting that would work for every scene or scenario. Everything from your subject to the light available, to your creative vision of a shot, will have an impact on your settings. The only way you can know is to learn and practice. Eventually, you will have a sixth sense for what to use and it will become effortless.
Unfortunately, there is no magic formula, you simply need to learn and get out there and take photos. The more you put into action what you learn the better you will become. If you get something wrong and end up with a blurred photo, try to evaluate and work out what you did wrong and what you might change if you had the chance again.
If you want to avoid blurred photos or want to know what settings you need to use, then the only way is to learn and practice.
Simplify your photos
As advanced as modern DSLRs have become these days, they are still no match for the human eye. So, whilst a busy scene to us can seem wonderful, in a photo, it might not work as we can’t focus on the main story.
It is very tempting to try and cram everything that is happening into a photo, especially when you are starting out in photography. But if you evaluate the scene and really think of the main story that you are trying to tell and isolate the main story, you’ll often find that your photos improve.
This doesn’t mean there has to be a single point of interest. There might be multiple things but importantly they need to be part of the same story. In these situations try to think like the viewer and lead the person’s eyes across your photo from one element to the other.
Is your photo straight
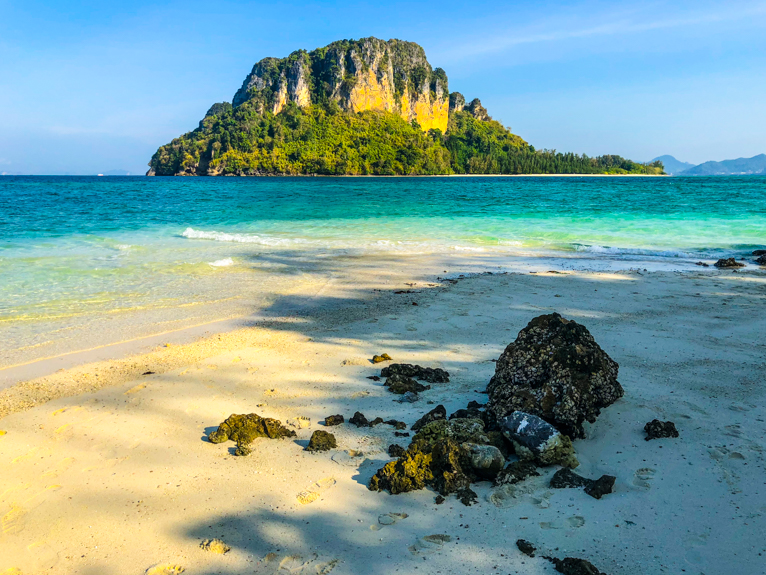
Without a doubt, the single biggest feedback I give to aspiring photographers about their photos is to straighten them. The only time that your photo shouldn’t be straight is if it is deliberately tilted and looks like it is meant to be tilted. But in any photo where you have a horizon line, if your photo isn’t straight it simply wouldn’t work.
The best way to achieve straight photos is at the time of taking the photo. Some cameras have built-in digital spirit levels that can help ensure you are holding the camera straight. But if your camera doesn’t and you do end up with a slightly tilted shot then make sure you adjust it in post-production.
Underexposed or overexposed
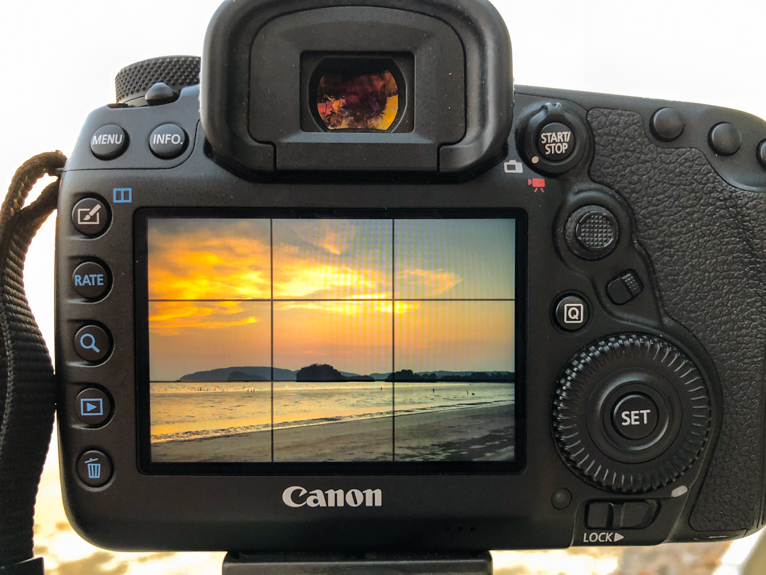
One of the more technical mistakes that beginners make is not getting their exposure quite right. This manifests itself with either underexposed shots where shadows (i.e. dark areas) are too dark or overexposed where bright areas (i.e. highlights) are too bright. In extreme cases, these areas could be so dark or bright that there no pixel details in them. This is a term known as “clipping”.
The best way to ensure that your photos are not under or overexposed is to learn to be able to read your histogram. There are plenty of resources online to teach you all you need to know. But as a simple guide, you need to avoid your histogram (i.e. the graph) being cut off by the left- or right-hand side. If you notice either of these on your histogram adjust your settings accordingly. Alternatively, sometimes you can fix these issues in post-production but it’s always best to get them right when taking the photo.
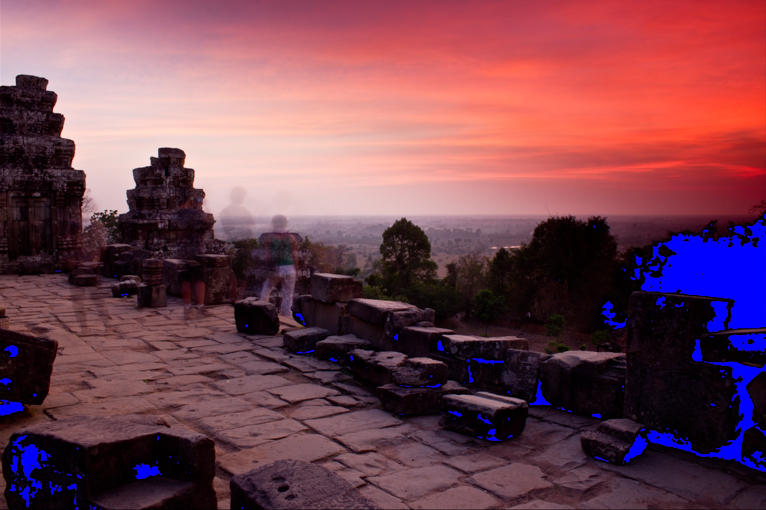
In this image, the blue areas are too dark (underexposed) and contain no pixel detail. They will need to be brightened up.
In need of cropping
Sometimes the only thing missing from turning a good photo into a great photo is just a bit of cropping. Remember that not all photos have to end up in the same size and ratio as they are taken by the camera. The great thing about cropping using a software like Lightroom is that you can always return to the previous version. So if it doesn’t work you can leave it as it was or try a different crop. Try to evaluate your photos and crop out unnecessary elements that don’t add anything to the photo.

Mistakes are part of the process whenever you decide to learn something new. Whilst it can be frustrating, you will often find that you learn more from your mistakes and failures as you would from your successes. But avoid these common beginner mistakes and you will be on your way to capturing better travel photos.
Latest articles by Kav Dadfar (see all articles)
- How To Photograph Street Performers - April 26, 2022
- Profiled Photographers – Ben McKechnie - August 24, 2021
- Profiled Photographers – Jim Maher - August 24, 2021
is the founding editor of JRNY Travel Magazine as well as a professional travel photographer and writer based in the UK. His images have been used by clients such as Condé Nast, National Geographic, Lonely Planet, Rough Guides and many others. Kav is also the co-founder of That Wild Idea, a company specializing in photography workshops and tours both in the UK and around the world.
See All Articles by Kav Dadfar


Leave a Reply