Most amateur photographers know the term “the golden hour”. This is the time after sunrise and before sunset when the you get a soft light illuminating the scene. But whilst most people have heard and probably utilize the golden hour, much fewer know and use the “blue hour”. But photographing during this time of the day can give you outstanding photos that will look stunning in any portfolio. So here are 5 tips for photographing during the blue hour.
What is the blue hour?
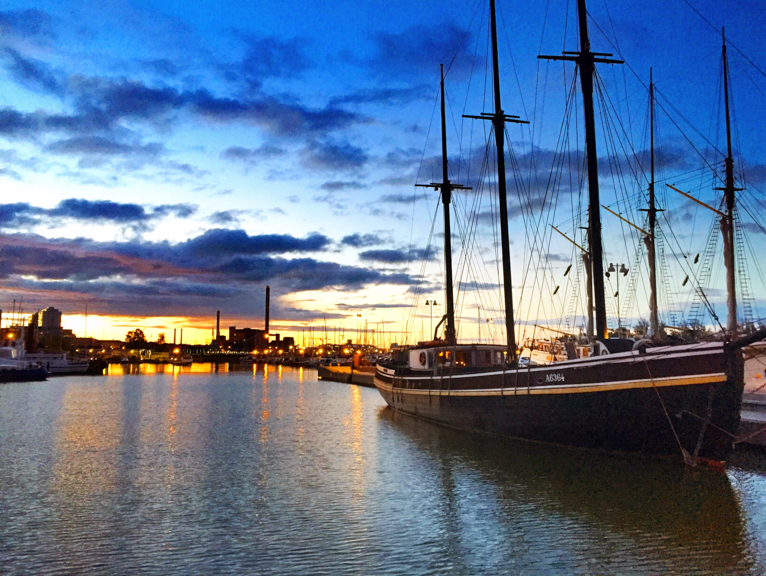
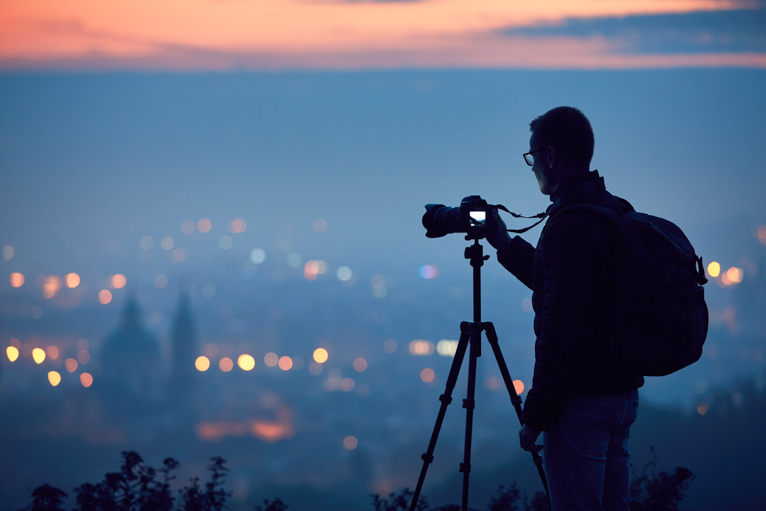
The blue hour is the period just before sunrise and just after sunset when sun is below the horizon and the sunlight takes on a blue hue which creates a cool blue shade in the scene and the sky. Now, even though as the term is called the “blue hour”, the actual time of this period doesn’t always last an hour. In fact, most of the time it is approximately 20 to 40 minutes. But this will change depending on the season and where you are in the world. The further away that you are from the equator the longer the blue hour will last and the closer you are the quicker it will be.
Keep in mind that the blue hour doesn’t necessarily starts right before sunrise and straight after sunset. For example, after sunset the blue hour might not start till around 15 – 20 minutes later.
1. Work out timings
As mentioned above, the blue hour will vary according to location and season, so the first thing you should do is check when it will occur and how long in will last. There are plenty of resources both online and as smart phone apps that can give you the approximate time and length of the blue hour where you plan to shoot. This is imperative as sometimes you will only have a small window of opportunity and so need to be at your location in good time.
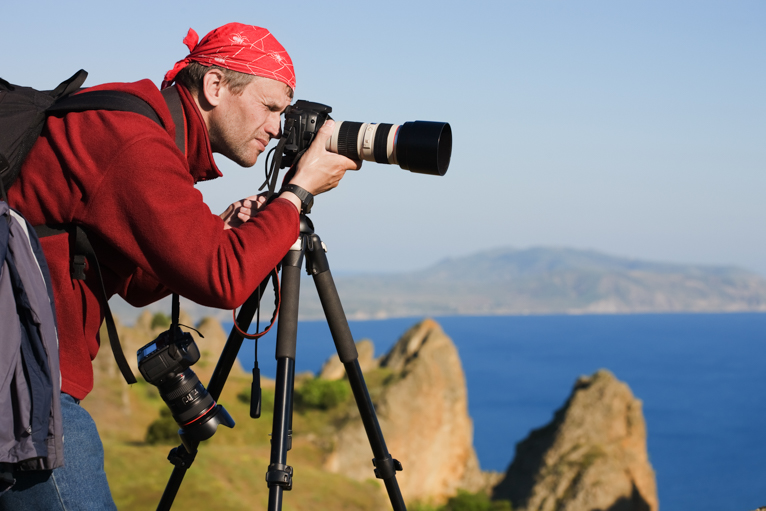
2. Pack your tripod
It might seem obvious, but photographing during the blue hour will mean you will be shooting in low light conditions. So, the only way to ensure that you can capture the best possible photo at a low ISO is by using a tripod. Without a tripod you will have to raise your ISO very high which will be detrimental to the quality of the image (because of the noise in the photo). You will struggle to avoid camera shake if you try to handhold the camera so to be safe make sure you take your tripod. A remote release will also come in handy by helping you avoid having to touch the camera when taking the photo which can also cause camera shake.
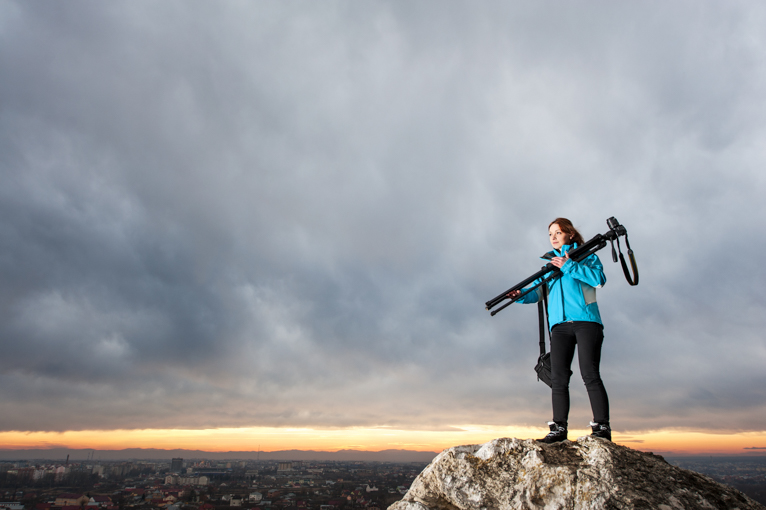
3. Arrive early
Often photographers will talk about the research that goes into capturing a great photo. Part of that research involves actually trying to scout the perfect spot for photos taken at sunrise, sunset and during the blue hour. If you want to capture great photos during the blue hour you really need to aim to arrive at the location a couple of hours early to be able to walk around to find the best composition. The last thing you want to do is to be rushing around when you only have a few minutes to capture the photo.
4. Settings
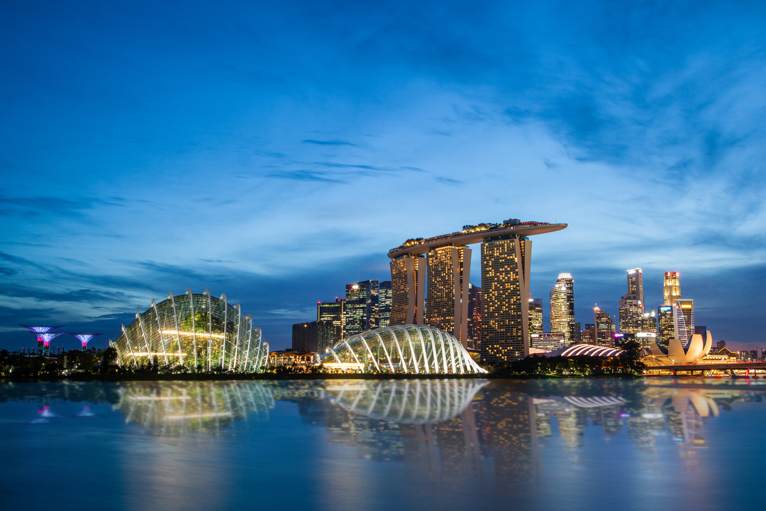
Like any other type of photography, there is no one rule that will fit every situation. The settings will depend of various aspects such as the available ambient light from things like street lamps as well as your creative vision of the photo. For example, do you want to capture motion in people and traffic or freeze the action? What you decide will impact the settings. But as a starting point, you will generally want most of the scene sharp, so a deeper depth field will be required. Start from around f-8 and work your way up until you have the desired depth of field. Aim to keep your ISO settings as low as possible as excessive noise will make your photo look soft.

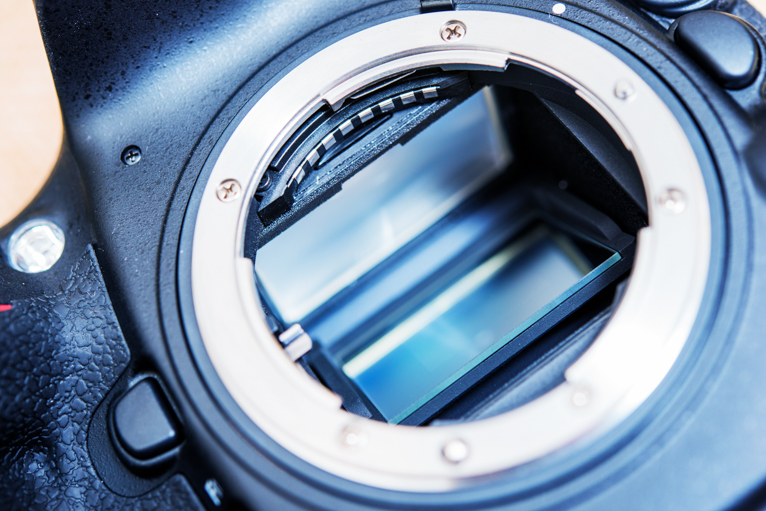
5. Lock the mirror
One of the things that most amateur photographers find frustrating is when they check the photos they have taken on their computer only to be astonished that they are not sharp. They used a tripod, a remote release, low ISO and so on but it doesn’t look sharp. Well, it could be down to the fact that they didn’t enable “mirror lockup” on their camera. The way that a camera works is that every time you take photo the mirror inside the camera flicks over. At fast shutter speeds this makes no difference to the photo. But when using slow shutter speeds for long exposures, this flicking of the mirror causes a slight shake which can make the image look soft. By enabling mirror lockup, the camera flicks the mirror over first then takes the photo and thus eliminating this shake. An alternative way would be to use Live View mode which also has the same effect.
6. Keep calm and keep shooting
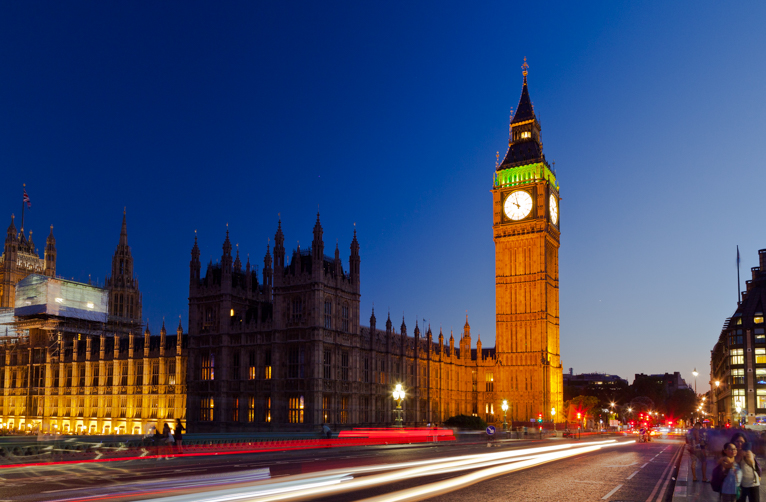
Even though the blue hour is short, you should still have plenty of time to try a few different compositions. So after you have taken a few shots at your first location, look for other potential spots and things like moving water such as waves or traffic and people that can all add a sense of movement to the photo. Experiment with different settings like a small aperture such as f-16 and above which will create star burst from light sources. The key is to keep calm and enjoy yourself and your photos will see the benefit.
Most amateur photographers make the mistake of packing up their equipment and heading home after sunset and miss the wonderful “blue hour” shooting opportunity. Next time you are heading out for a sunset shot, build in some extra time for the blue hour, do your research and you’ll be pleasantly surprised by the results.
Photo credits: Kav Dadfar – All rights reserved. No usage without permission. Dreamstime.
Latest articles by Kav Dadfar (see all articles)
- How To Photograph Street Performers - April 26, 2022
- Profiled Photographers – Ben McKechnie - August 24, 2021
- Profiled Photographers – Jim Maher - August 24, 2021
is the founding editor of JRNY Travel Magazine as well as a professional travel photographer and writer based in the UK. His images have been used by clients such as Condé Nast, National Geographic, Lonely Planet, Rough Guides and many others. Kav is also the co-founder of That Wild Idea, a company specializing in photography workshops and tours both in the UK and around the world.
See All Articles by Kav Dadfar


Leave a Reply