If you’re just getting started in wedding photography, it can all be a little daunting. The stress of having to get everything just right is often too much for many wedding photographers. That being said, it is a great business to get into, so here are 10 tips for excellent wedding photography that’s bound to make the bride and groom happy!
1. Scouting out the location
The very first thing you’ll want to do when you get a new wedding photography job is to scout out the location (if possible). Scouting out the site helps you to get a feel for the place, where the light naturally falls within the venue and what the conditions will be like when you get there. It also allows you to visualize where you’ll place your equipment and where you could potentially do isolated shots of the couple that aren’t dynamic photos of the wedding procedure. Another idea is that you could always have the couple come with you to run a few ‘test shots,’ which is an excellent way to get an understanding of how the couple looks together and how they fit in with the surroundings.

2. Know the couple
Many wedding photographers overlook this crucial step, which often results in unhappy customers. For most people, getting married is the most important day of their lives, and therefore they expect everything to be perfect. They might have an ideal day, but if they get their photos back at the end of it all and aren’t happy with them, they’ll hold a grudge forever (and potentially drive away your future clients). Sitting down with the couple once or twice before the wedding is a great way to avoid this; you can get an idea of what type of couple they are, and you can ask them for their expectations of you on the day. You should also ask them to send you some examples of the type of photographs that they are looking for. This will give you a style guide to follow. Setting up boundaries with the customer, and following them later down the line, is a perfect way to ensure that both parties are happy at the end of the job.

3. Plan the shoot
Once you’ve scouted the location and met the couple you’ll be shooting; you can come up with a shot list to assist you on the day, that will ensure the day runs smoothly, and you are not fumbling about trying to come up with decent shots on the client’s wedding day. While it’s unrealistic to expect that every single shot you take to be from your shot list, or that you’ll use every single shot you take, it’s still a good reference point that will allow for you to fulfil the expectations of the married couple. It will also ensure that you cover off all of the different people that the couple may want photographs with.
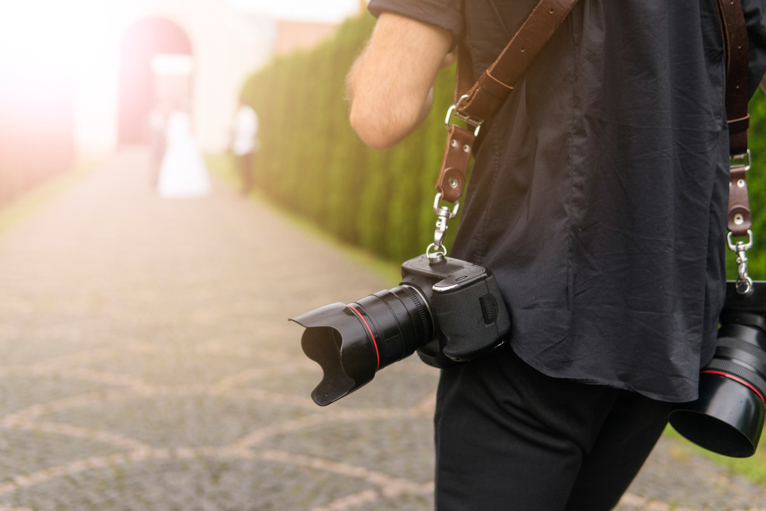
4. Bring extra equipment
The last thing you want on the client’s big day is for your equipment to fail you, leading to poor photos or none at all. Be sure to check your equipment before you leave the house that day, as well as bringing with you extras for as many parts as possible. You should ensure that you have plenty of batteries and memory cards. It’s also a good idea to bring two cameras to shoot with as well as an extra body as a backup in case one fails you. It’s easy to think that you would never need extras because your equipment has never failed you before, but unfortunately, malfunctions and more commonly accidental breakages do happen.
5. Arrive early
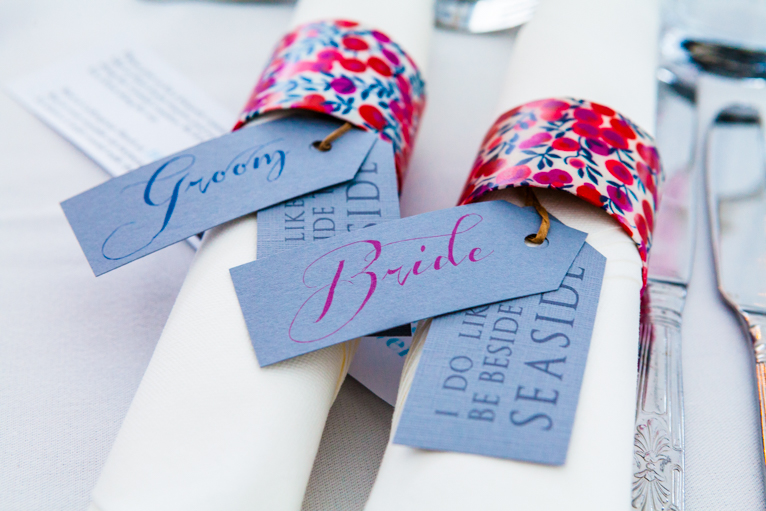
You should always arrive early to photograph a wedding. You can start to photograph the guests as they start arriving. Don’t forget that this is also part of a wedding day for the couple so make sure you capture it. It’s unlikely that you will have time to speak to the couple during this time so try to stay out of the way and instead photograph all of the smaller details. Things like flowers or quirky personalised objects on the tables are great to capture as well.
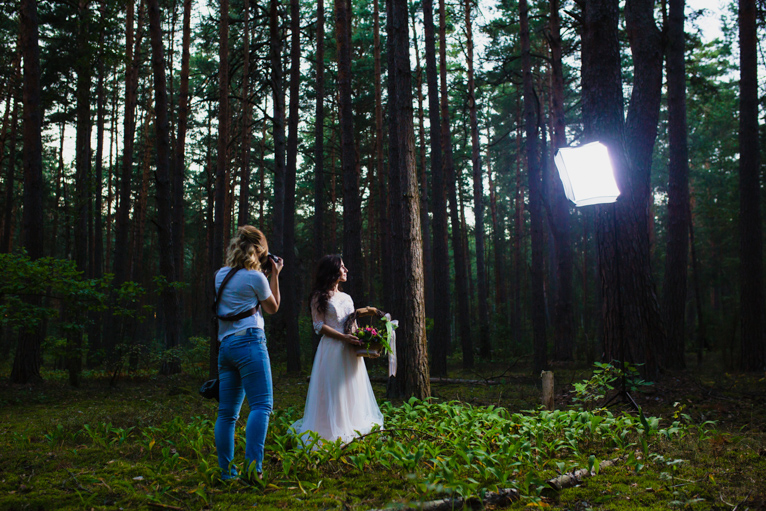
6. Think about lighting
While you may have been to the venue previously, you have to consider how bright it will be on that particular day. Check the weather both the day before and then again when you are packing to leave, so that you bring enough lighting setups for both the current weather and the weather further ahead in the day. The last thing you want is to underestimate how quickly brightness can change!
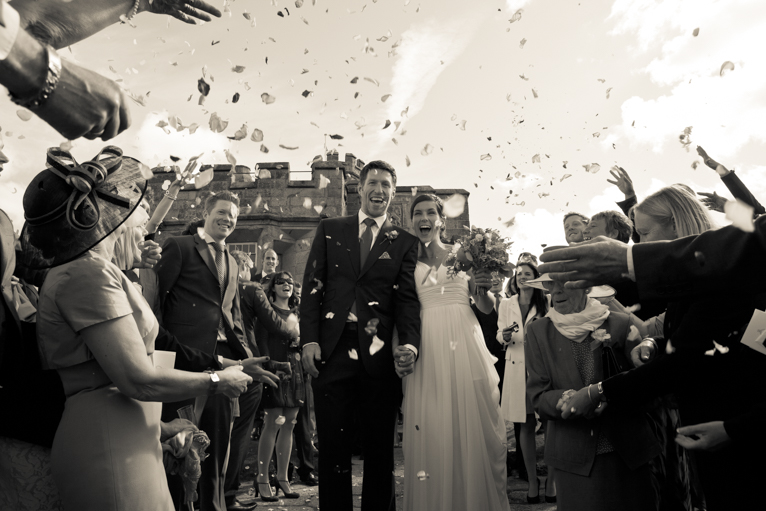
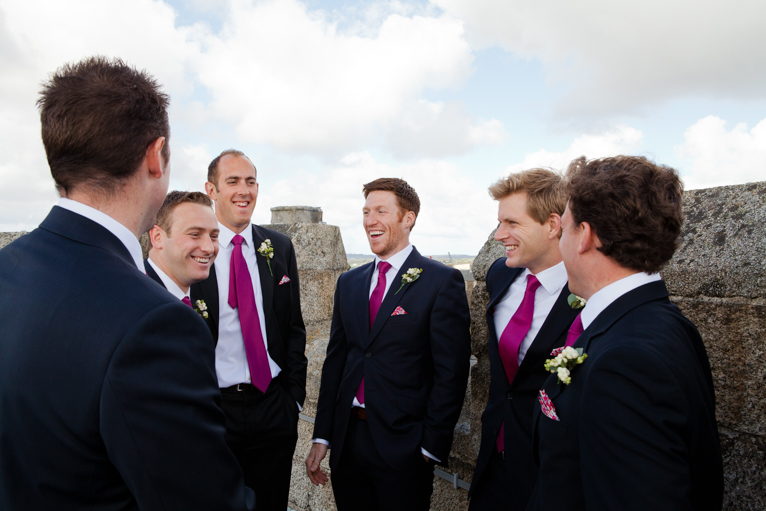
7. Don’t forget the groom
Wedding photos nowadays are often hyper-focused on the bride, because they tend to care more about how they look and want to document the incredible work that went into their hair and beauty. Whilst the bride is important, the groom often gets overshadowed by the photographing of the bride, leading to a situation wherein the couple ends up with way more photos of her than him. Many grooms might seem slightly reluctant to have photos solely of themselves, but you ought to explain to them that they’ll likely regret it in years to come if the primary focus of all of their wedding day photos is the bride. You can also try to photograph them when they are with their friends or best man as they might be a bit more relaxed.
8. Eat breakfast and bring snacks
These might seem like obvious statements, but many amateur wedding photographers get caught out by how much physical work is involved in wedding photography. It is likely that you’ll be on your feet non-stop for the entire day, as you have to capture every step of the process. Make sure you fill up before you leave the house and bring plenty of snacks so that you don’t get burnt out halfway through the day! Don’t forget to drink plenty of water throughout the day.

9. Bring business cards
Be sure to bring a wad of business cards to any wedding you photograph, as the audience are likely to know someone else who might be getting married soon. Particularly for amateur wedding photographers, this is a great and natural way to market without pouring money into expensive advertising campaigns and trade shows.

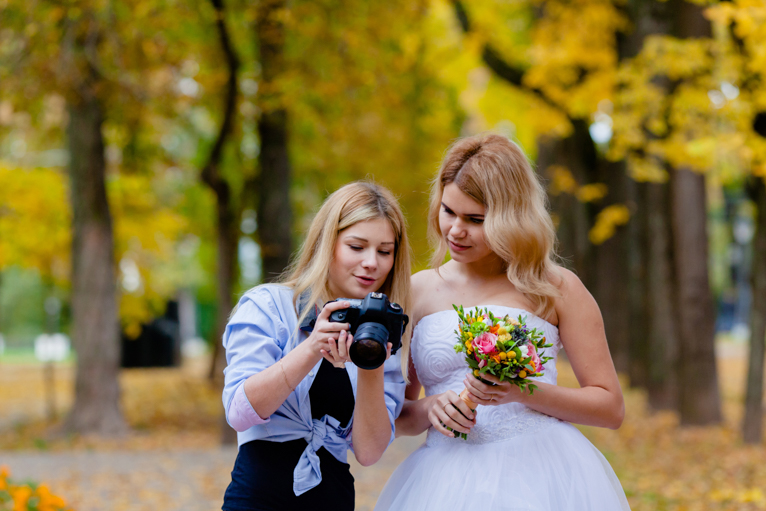
10. Don’t go alone
When you are starting in wedding photography, it’s easy to think that you can do it alone to save money. Unfortunately, this often isn’t the case, especially with larger weddings. Weddings are so expansive that it’s highly unlikely you would be able to cover every aspect of them alone. It’s worth hiring an assistant to help you out to maximize your coverage of the event but also for support. A great way to do so without spending a lot would be to ask someone to be your assistant at one event, and then you be their assistant at the next.
Wedding photography is a lucrative genre of photography to be involved in. But it is also imperative that you are fully prepared and know what you are doing. It is highly advisable to start by being an assistant to more established photographers until you are comfortable. But when you are ready to shoot your first wedding these tips will help you ensure it is a successful one.
Photo credits: Kav Dadfar – All rights reserved. No usage without permission. Dreamstime.
Latest articles by Kav Dadfar (see all articles)
- How To Photograph Street Performers - April 26, 2022
- Profiled Photographers – Ben McKechnie - August 24, 2021
- Profiled Photographers – Jim Maher - August 24, 2021
is the founding editor of JRNY Travel Magazine as well as a professional travel photographer and writer based in the UK. His images have been used by clients such as Condé Nast, National Geographic, Lonely Planet, Rough Guides and many others. Kav is also the co-founder of That Wild Idea, a company specializing in photography workshops and tours both in the UK and around the world.
See All Articles by Kav Dadfar


Leave a Reply