Most photographers know that the best time to take photos are at “sunrise” or “sunset”, but not all understand the reason for these tips and subsequently how to maximize the potential of these scenarios. Photographing at sunrise or sunset can give truly stunning results, but it is also a challenging scenario for newbie photographers to navigate. The fast changing light, the huge contrast between highlights and shadows added with low light can make it hard work. But fear not, just follow these 8 tips for photographing sunrises and sunsets and you will be pleased with the outcome.
Be Prepared
The first thing that any photographer should spend time on is planning. This is even more vital for photographing sunrises and sunsets as you only have a small window of opportunity. The last thing you need to be doing is rushing around trying to find the location whilst missing the best light. So start by planning where you need to be exactly and at what time. This means you need to know what time sunrise and sunset will be (keep in mind that this will change over the course of the year) and which direction the sun will rise and set.
With this knowledge, you should then set yourself a few locations that would give you the sort of photos you are after. Now comes arguably the most important part, which is to scout these locations (if possible) before you actually need to photograph them. This is the only way that you can be sure that the location you are photographing from will give you great results. If the location you are planning to photograph from isn’t somewhere you can get to before photographing, then try to arrive really early. If you are early, then at least you’ll have some time to explore the area to find other locations if your first option doesn’t work.

Allow Enough Time
Sunrises and sunsets are unpredictable and you can never know the exact time that you will get the most intense color in the scene. So the key is to allow enough time to photograph at intervals, evaluate the result and adjust for the next photo. This of course means you will have to allow plenty of time so be patient and wait for the perfect shot. I have lost count of the number of times I have seen photographers arrive at a location at sunrise or sunset, quickly take a photo and then head off! You would rarely find that your best photo is the first one that you take, so give yourself time to perfect the shot.
Think About Light Direction
In any landscape photo one of the key components is the light. If you really want to take your photography to the next level, then you need to spend time examining and understanding light. The intensity, time of day and direction can all have a huge impact on how your photo will look. Photographing sunrises and sunsets is no exception and the direction of the light can make or break a photograph.
Most amateur photographers make the mistake of thinking that you have to photograph the sun rising or setting in these scenarios. Whilst that is one way of photographing sunrises and sunsets, you can also photograph the scene with the sun behind you or even to the side of you. All of these will give you different results, so try it out next time you are photographing sunrises and sunsets and see which photo you are most pleased with.
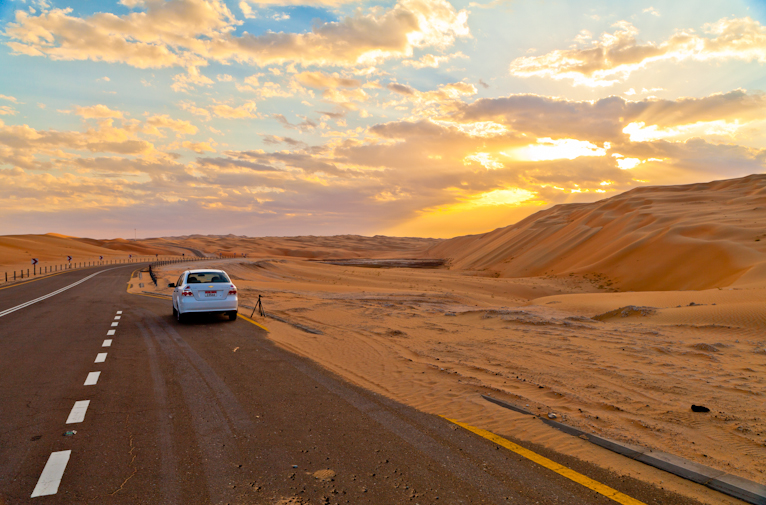
Point Of Interest
Let’s be honest, sunrises and sunsets themselves are actually not that exciting. The reason that photographers love photographing at these times is more due to the light that is produced by the low soft golden sun and the dramatic skies that are sometimes if effect. To really maximise sunrises and sunsets you need to think beyond the actual event itself and more around the scene you are capturing. So instead of focusing on the sunrise or sunset, find a point of interest and frame your photo around that. Not only will it make for a more interesting photograph, but it will be more likely to be unique than just another sunset.
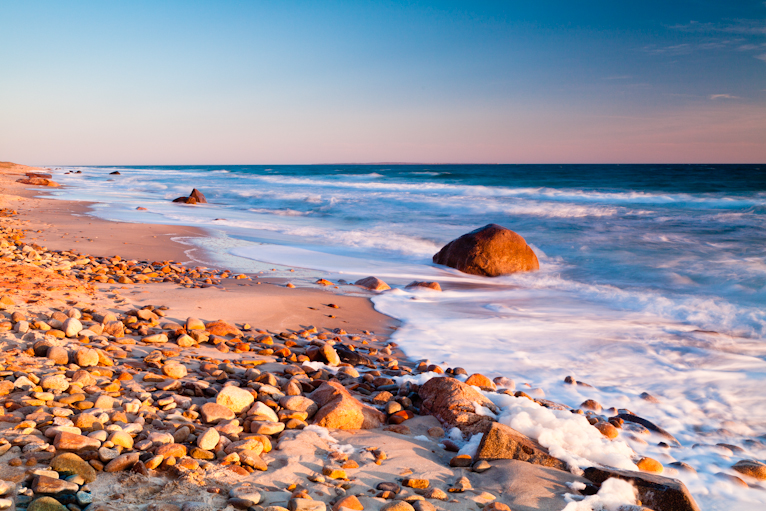
Set Your Horizon Correctly
Your horizon line in any landscape photo is vital but is often overlooked by newbie photographers. The best way to ensure that you are setting your horizon correctly is to use the rule of thirds. If you have a dramatic sky with lots of color or a dramatic cloud formation, set you horizon low in your photo. If you have an interesting foreground, then set your horizon line high to make the most of it. Whatever you do, avoid putting your horizon line in the middle of the photo as it can make the image seem flat and uninteresting.
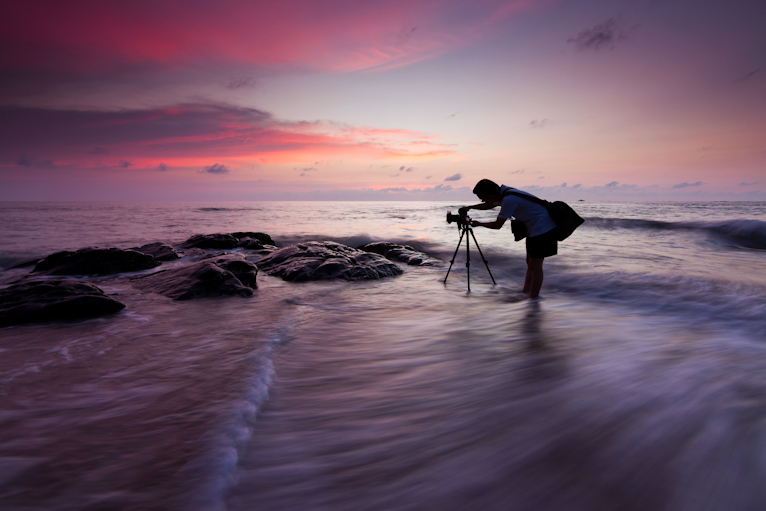
Bring The Right Gear
Even though sunrises and sunsets can be unpredictable, there are a few things that you will usually find you always need to photograph them. The first and most important is a tripod. Even though you are able to capture the photo by raising your ISO, you are sacrificing the image quality by raising your ISO. A tripod is the best way to ensure that you capture the best photo possible at the best possible moment. This is even more imperative if you are planning to carry on photographing after the sun has set. So always bring your tripod and make sure you invest in a good one.
The other bits that you will often find you need are a wide angle lens, a cable release (to avoid touching the camera which can move it and cause blur in your photos) and a flash to fill in any dark areas in the foreground of your image.
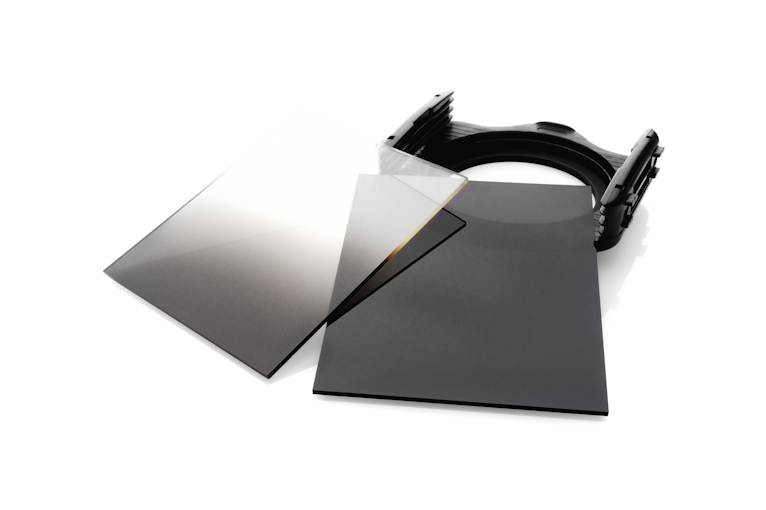
Don’t Forget Your Filters
The other key accessory that almost every landscape photographer will usually use are gradual ND filters (neutral density filters). During sunrises and sunsets when the sun is low in the sky, you will often find a big disparity between that background (the sky) which is very bright and the foreground which is often very dark. With the advances in post production it is possible to take a few photos (exposing for different tones) and merge them in post production into one photo.
Whilst this is totally acceptable, most landscape photographers prefer to capture the right photo at the time of taking the photo. This is where these filters come in incredibly useful. They help ensure that there is balance between the highlights in the sky and shadows in the foreground and thus allowing the photographer to correctly expose for both.
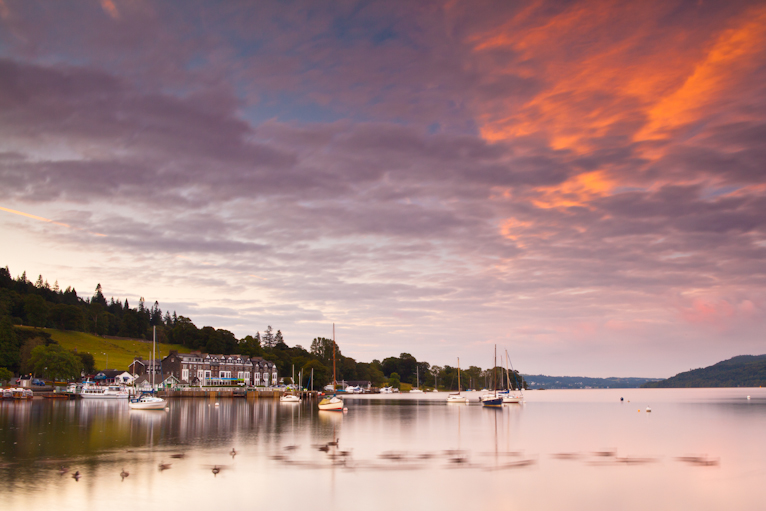
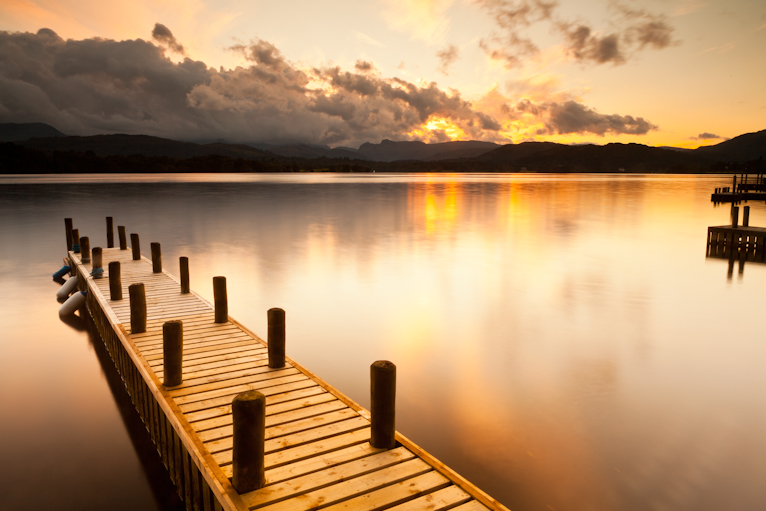
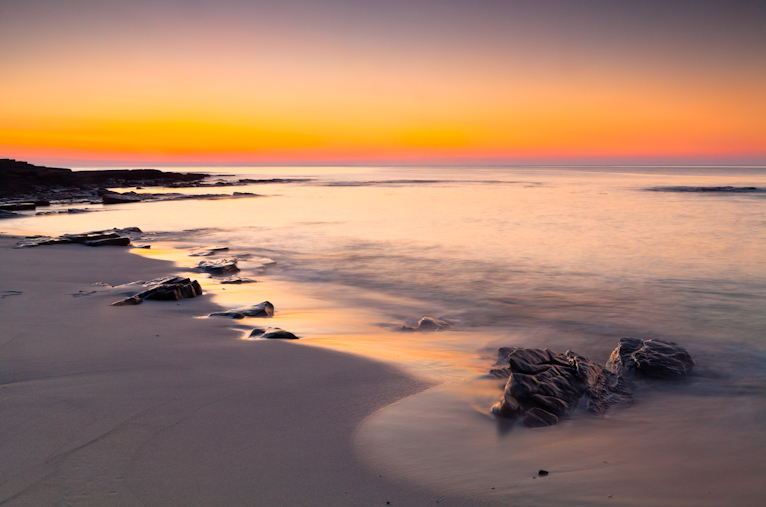
Look For Water
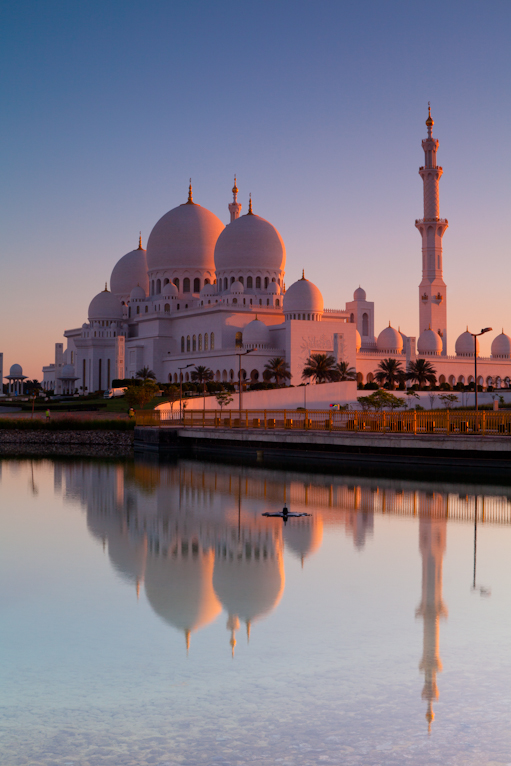
One of the main reasons that photos of sunrises and sunsets captivate us is because of the dramatic skies and stunning colors. One of the best way to maximize this is to photograph near water where the reflection on the surface can enhance the scene even more. The more calm the water is the better your reflection but even on a beach, the seas can pick up the beautiful colors in the sky so always be on the lookout for any water nearby that can work as a mirror in your shot.
Sunrises and sunsets are often what most people want to photograph. They offer amazing opportunities for photos and if you are photographing at sunrise, it often means peace and quiet. Follow these simple 8 tips for photographing sunrises and sunsets and you’ll be sure to be pleased with the results.
Photo credits: Kav Dadfar – All rights reserved. Dreamstime.
Latest articles by Kav Dadfar (see all articles)
- How To Photograph Street Performers - April 26, 2022
- Profiled Photographers – Ben McKechnie - August 24, 2021
- Profiled Photographers – Jim Maher - August 24, 2021
is the founding editor of JRNY Travel Magazine as well as a professional travel photographer and writer based in the UK. His images have been used by clients such as Condé Nast, National Geographic, Lonely Planet, Rough Guides and many others. Kav is also the co-founder of That Wild Idea, a company specializing in photography workshops and tours both in the UK and around the world.
See All Articles by Kav Dadfar


Leave a Reply