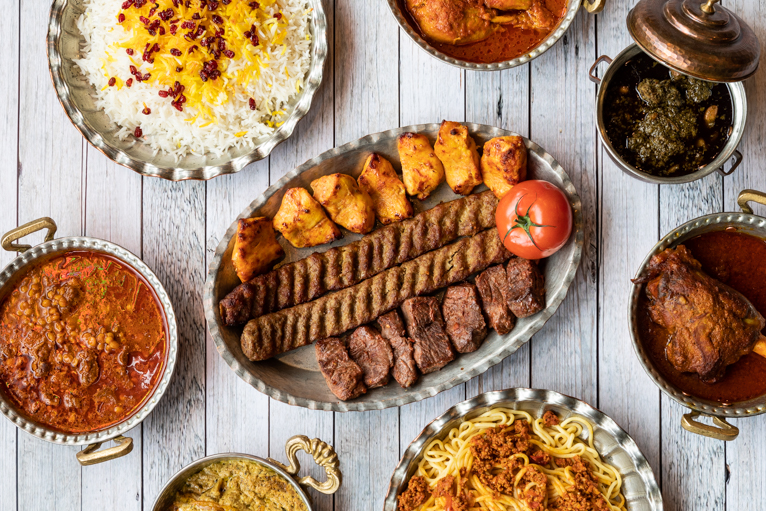
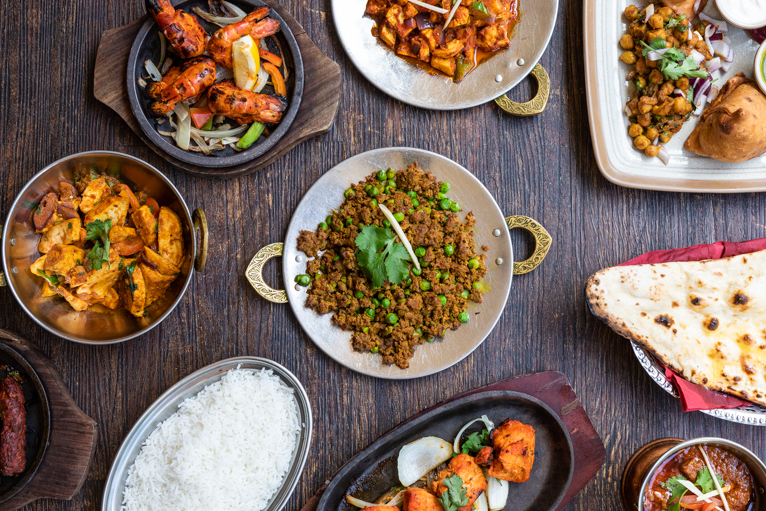
You have probably already seen those amazing over the top shots of food. Where the different dishes fill the frame and there is seems to be an explosion of colour. Well, you too can capture photos like that as it’s a pretty easy process. But one that does require a little bit of preparation, some specific equipment and a bit of science (more on that later). So here is a step by step guide on how to capture over the top food shots.
What you need
The great thing about these sort of shots is that you don’t need much equipment and once you have what you need it will last you for a long time before it needs to be replaced.
Camera & lens
Obviously, you will not get very far without a camera and a lens. For this sort of photography, you will need a wide angle lens, anything from 24 mm should be fine depending on how high you will be above the food.
Background
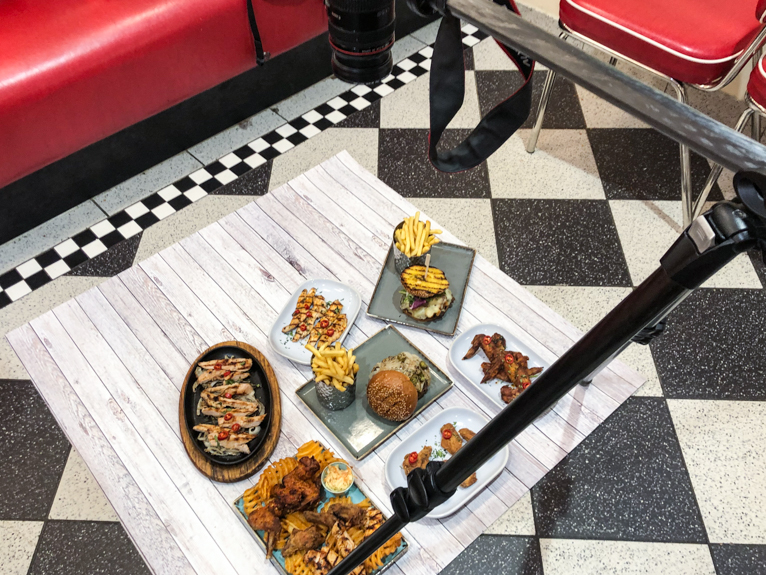
Take my word for it, the easiest way to capture these sort of shots is to place your dishes on the floor. Unless you want to be balancing perilously on ladders, by using the floor you can still ensure that your tripod is at an easy to look at height. If the floor you are going to be using is suitable, you can place dishes directly on the floor. But most of the time it will not be so a background of some sort will be needed. But even if you are using a table, a background will still come in handy so it is worth investing in some.
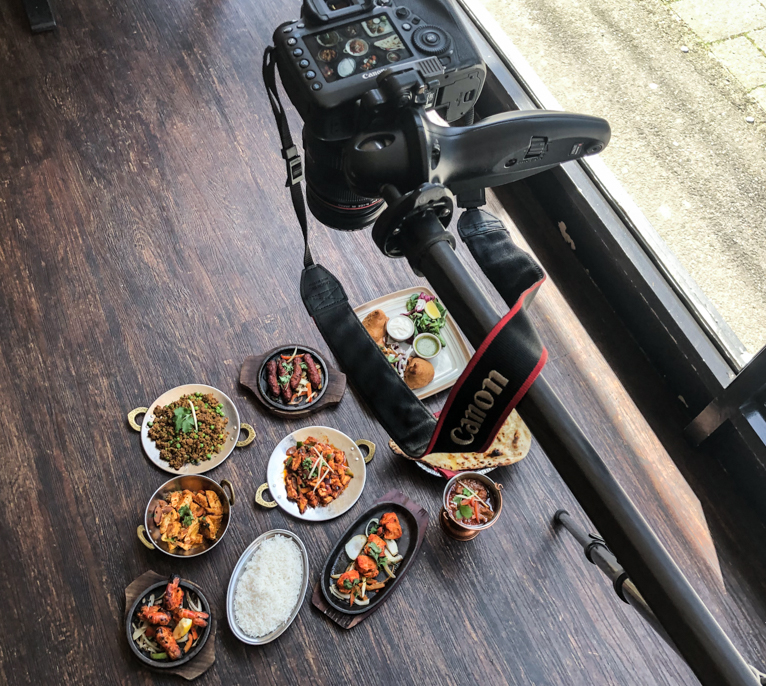
Tripod
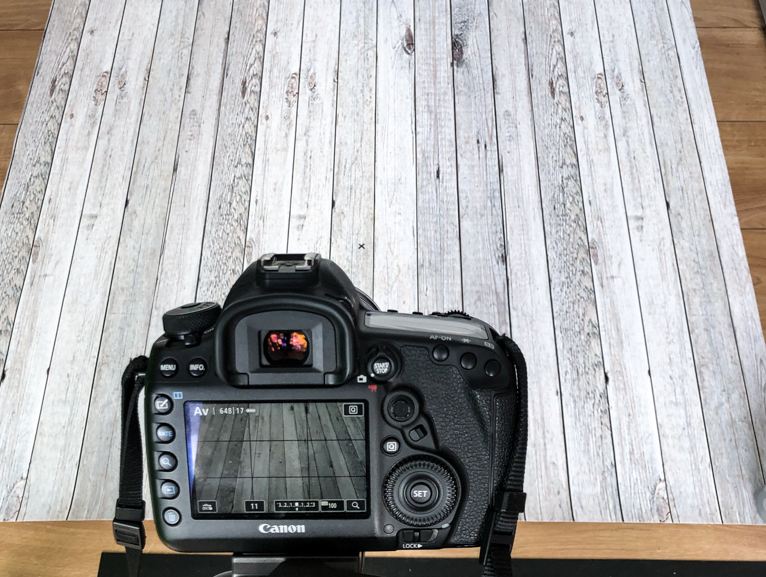
Unfortunately, there is no way around this. You will not be able to capture those over the top shots perfectly without a tripod. But the tripod that you use is really important. It needs to allow for the centre column to rise and be folded over so that you can mount your camera facing the ground. Not all tripods have this feature so be sure to check before purchasing. Also, be sure that the tripod can take the weight of the camera.
Sandbag (or weights)
An expensive lesson that you will learn if you skip this item is that as soon as you mount your camera on the extended centre column (when it is folded over), the tripod and camera fall over onto your lens. This could easily mean broken lens glass or even a broken camera. This is where the science bit comes in. It’s simply a case of weight balance. The tripod is falling over because it is too heavy on one side. So to avoid that happening you need to counter the weight on the other side. So if your camera weighs 1 kg, you need 1 kg on the other side of the tripod.

Food
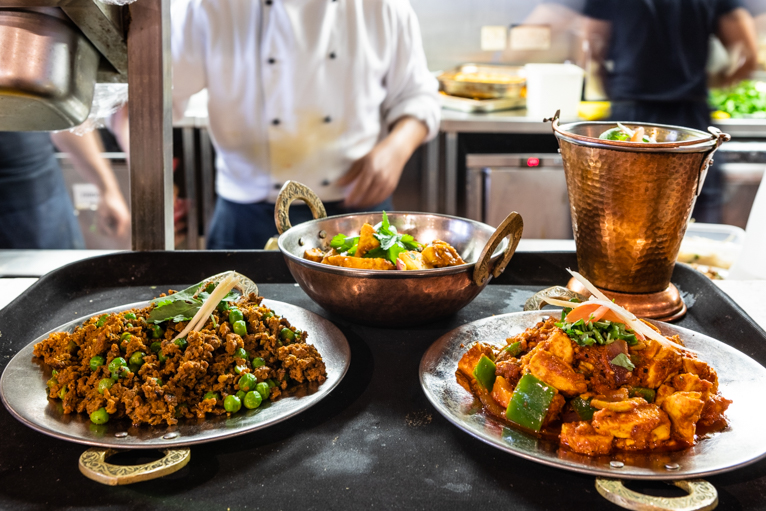
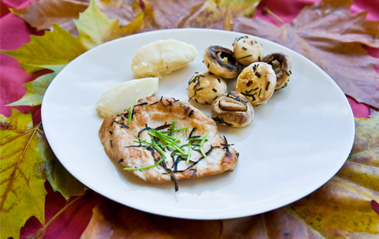
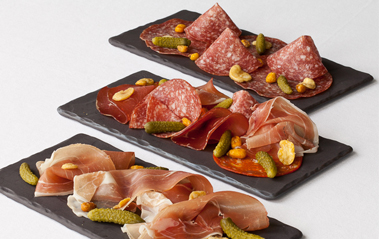
Naturally, you will also need some food dishes to photograph. But rather than dumping everything on white plates, have a think about the food and the type of plate or bowl that will suit it. With these types of photos, you will find that your final photo will be better if you use a variety of different serving dishes.
Remote trigger
This is not an absolute necessity but one that will make things a little easier. Because the camera is mounted on an extended centre column it will be at risk of shaking or vibrating with the slightest touch. Even walking past the tripod on a soft wooden floor will cause vibrations that could affect the sharpness of the photo. So without a remote trigger, you must set your camera onto the timer. But make sure that you use a longer timer than the usual 2 seconds. If you press the shutter button on your camera, there’s a good chance that it will still be shaking 2 seconds later. To be safe I set mine to 10 seconds and I move away from the tripod and camera so that I don’t make the floor shake by stepping or walking around.
The set-up
Once you have your equipment, the set-up is relatively easy.
- Place your background on the floor and weigh the corners down with something heavy so that it doesn’t get blown over by wind or anything else (or use the floor if suitable)
- Try to avoid photographing your dishes in direct sunlight as it will be too harsh. Instead, find some shade and if you can’t, try to hold up something to block the sunlight falling on your dishes (something like a big piece of cardboard will work well)
- Set up your camera on your tripod, facing down. Don’t forget to hang the weight onto the other side.
- Put one of the dishes on the background so that it roughly is in the centre of your frame.
- You can also set your camera to “Live View” mode. This will make it easier than trying to look through the viewfinder. This should also act by locking the mirror in your camera. If you are using your viewfinder make sure you lock up the mirror before shooting as in long exposures the vibration of the mirror turning will affect the sharpness of the photo
- Set your camera to manual focus and focus on the main dish
- Because you are using a tripod you can afford to set a low ISO and a fairly narrow aperture (like f/9 – f/11 should work well)
- Set the timer (remember to go longer to be safe) if you are not using a remote trigger
- Place all of the other dishes around your main dish. It doesn’t matter if they don’t go all the way to the edge as you can crop using post-production
- Take the photo, review it and adjust your composition by moving the dishes around. Repeat until you have the desired photo.
This might seem like a complicated list, but once you have gone through this process a few times it will become second nature to you.
Edit, crop and share
Once you have captured the shot that you want, spend a little bit of time adjusting things in post-production. Try to aim for a vibrant and colourful photo that when is looked at makes you want to try the food. Things like brightness, contrast, shadows, vibrancy and saturation will help. Cropping will also need to be done depending on the composition and also where you want to use the photo. One element that is really important in food photography is the white balance. So if you do nothing else make sure you adjust this so that the photo looks natural. Finally, share your awesome photo with others!
So that is all there is to it. After a few attempts, you will realize how quick and easy it is to capture those over the top food shots. In fact, often the most time-consuming element is the preparation of the food. Once you have the dishes, the rest is easy. Just remember to make sure your camera is secure and isn’t going to fall over.
Photo credits: Kav Dadfar – All rights reserved. No usage without permission.
Latest articles by Kav Dadfar (see all articles)
- How To Photograph Street Performers - April 26, 2022
- Profiled Photographers – Ben McKechnie - August 24, 2021
- Profiled Photographers – Jim Maher - August 24, 2021
is the founding editor of JRNY Travel Magazine as well as a professional travel photographer and writer based in the UK. His images have been used by clients such as Condé Nast, National Geographic, Lonely Planet, Rough Guides and many others. Kav is also the co-founder of That Wild Idea, a company specializing in photography workshops and tours both in the UK and around the world.
See All Articles by Kav Dadfar

Leave a Reply