Summer is still upon us but is starting to wind down. While it is still warm I like to make the most of shooting opportunities, and one thing I love to shoot is Water Lilies. In most areas where you find Water Lilies they have a fairly long season. The thing to remember about Water Lilies is they bloom and tend to stay in bloom as long as the water temperature stays above 65 degrees Fahrenheit. Not only are they beautiful to see and photograph, but they tend to draw dragonflies, which makes for a great addition to your image.
In Infrared, Water Lilies are quite stunning and you can capture some textures and details you wouldn’t see in natural color. Whether you are shooting Deep B&W IR or our new Hyper Color you can get some eye-catching images.
I’ve got a few suggestions if you want to try and shoot Water Lilies for the first time.
White Balance
In a shooting situation like this, I usually set my in-camera White Balance by capturing an image of the grass nearby and using that image as a WB reference image.
Timing and Light
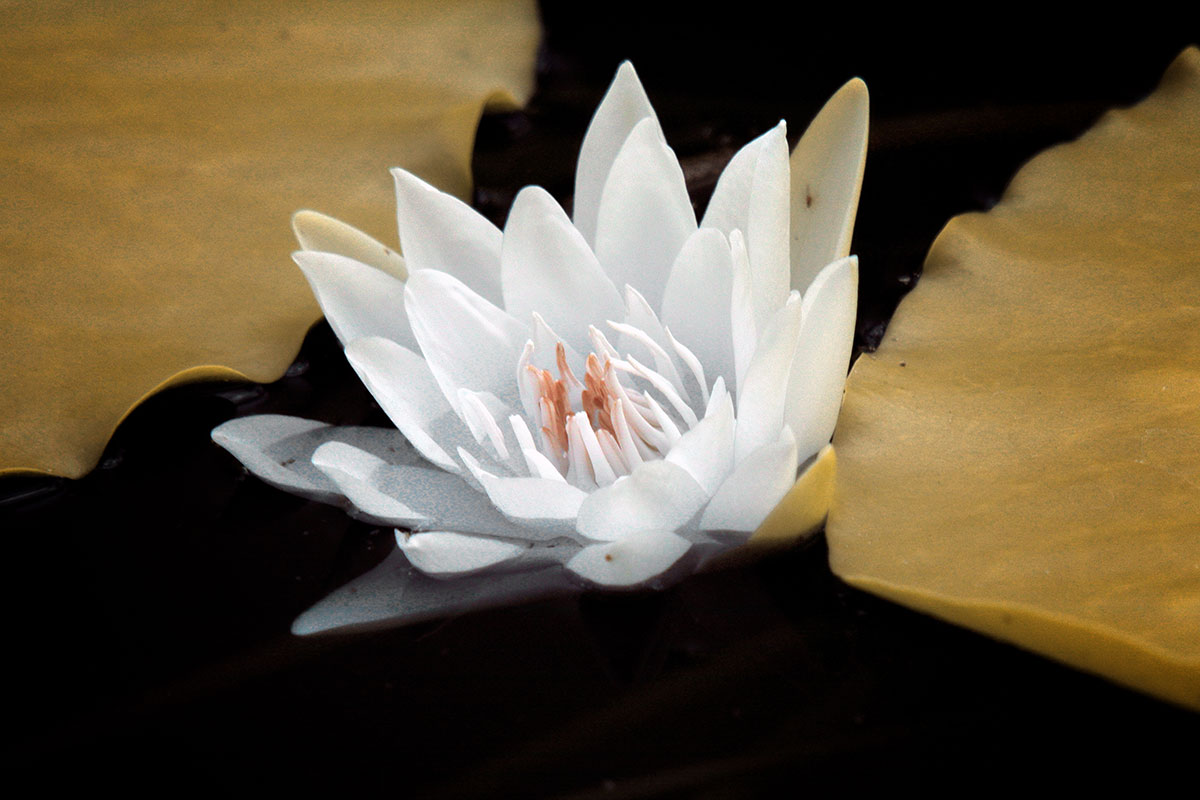
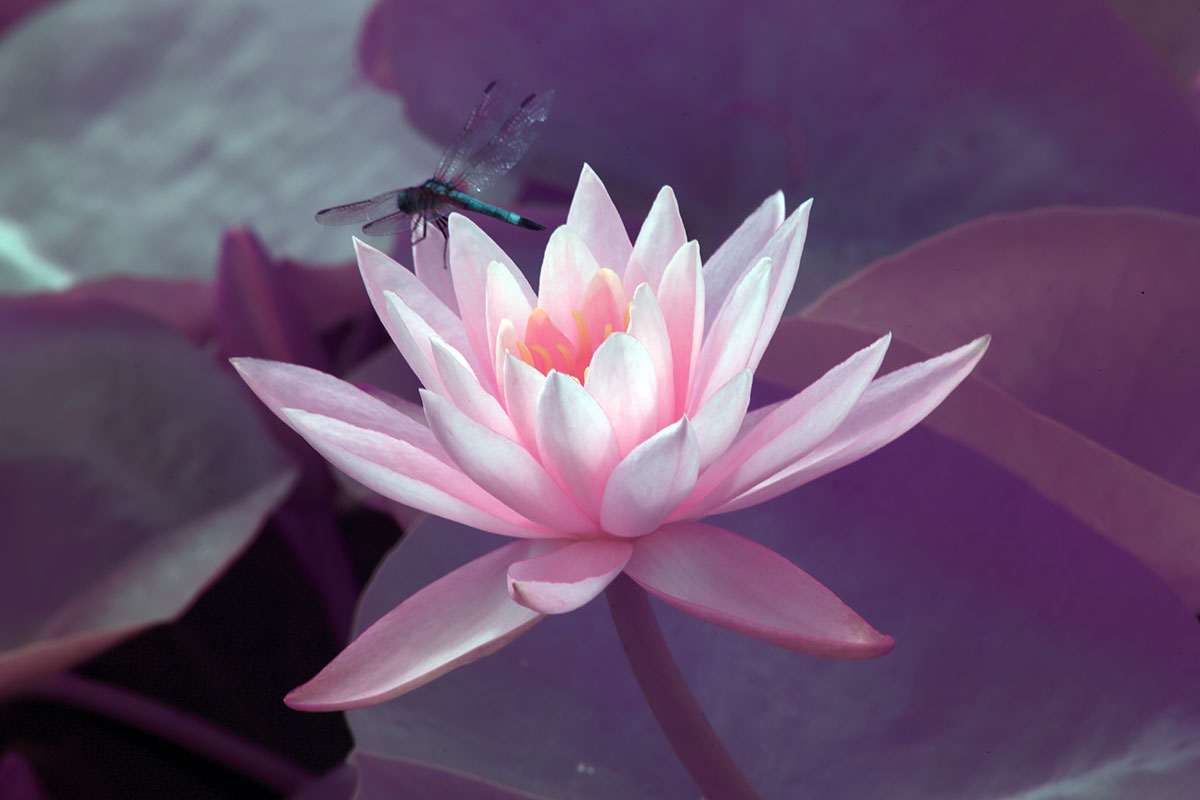
As you know with Infrared, you can shoot at any time of day. However, you want to mindful of your shadows and you may want to shoot from a different angle depending on the situation. In the image below you’ll notice my shadows are almost straight down because I was shooting shortly after noon.
If you don’t like the shadowing you are getting, find yourself a comfortable place to sit and wait a bit, or come back later. Also, watch for sun flares reflecting off the water.
Come Prepared with Lenses
I always like to have two options when I go out to shoot Water Lilies. First, is a good telephoto lens. That 70-200mm you like to use for Portraits will work great here. Got a 300mm or higher? Bring it. That Water Lilly that is towards the middle of the pond and not easy to get to is now a breeze for you.
Second, I always bring along my Lensbaby Velvet 85. If there is a Water Lily close to the edge, the Lensbaby Velvet 85 is perfect and I can make use of that great sharp and softness you can only get with the Velvet lens.
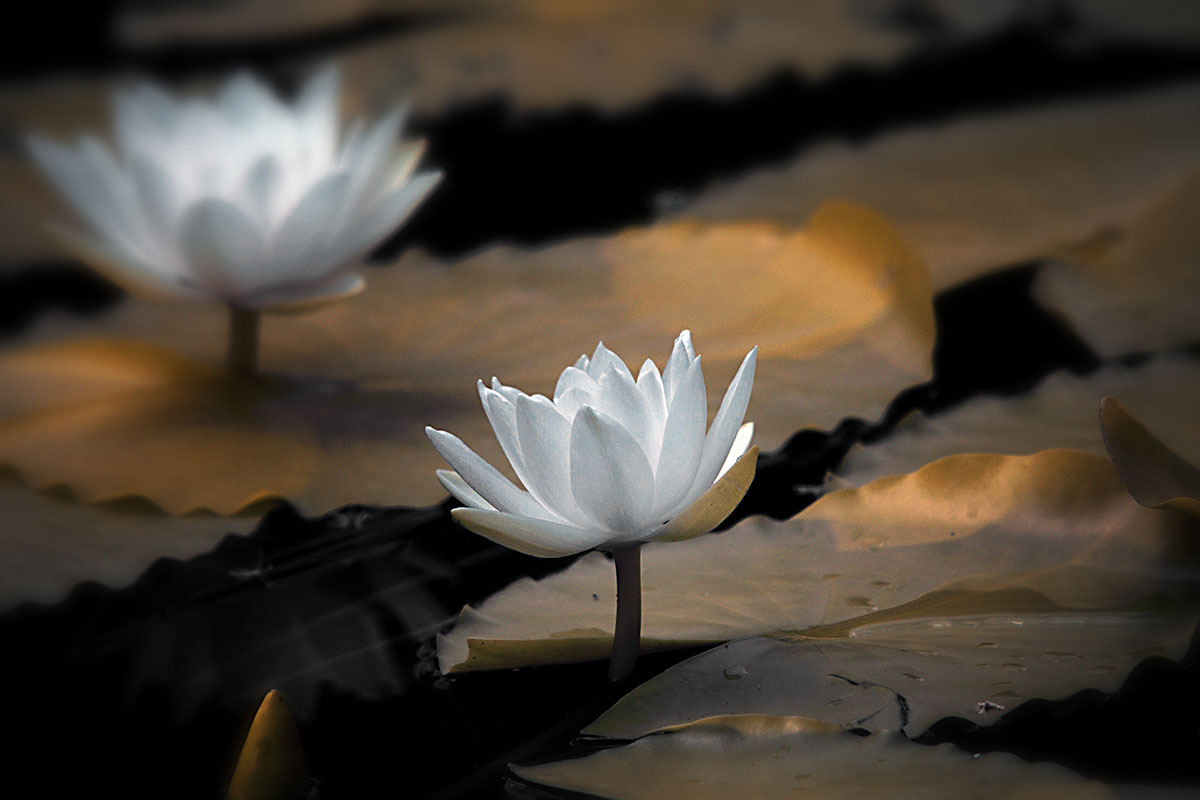
Try Low Angles
Most people walk up to a pond with Water Lilies and then shoot down on them. The image can look good that way, but also try going low and shooting slightly above water level to give you a different perspective.

Be Patient and Enjoy
Take your time while you are there and enjoy the beauty you are shooting. If possible, stay relatively still and you may get the opportunity to catch a Dragonfly visiting the Lily you are shooting.
Shoot Brackets and in Continous Shooting Mode
In the image above the Dragonfly was only there for a split second before moving on. By having my camera set to auto exposure bracketing, I press and hold the shutter and my camera catches multiple images. In Continous Shooting Mode, my camera will capture exposures as fast as it can. Later I can pick the one or two that are good and delete the others.
In Post Production
Just like always, you will want to use the RAW editor made for your camera to convert your RAW files. With IR types like Super Color, Enhanced, Standard, or Deep B&W use the petal of the Lily for your White Balance, and you will see your image pop. With Hyper Color, simply select any area in the image that has a green tint and use that for the WB and you will get the results you expect from a Hyper Color image.
With all types of IR, except Hyper Color consider removing any blue tones you see as they tend to distract from the image. With all types of IR, consider using Selective Color in Photoshop to darken and define the color tones.
That’s about it.
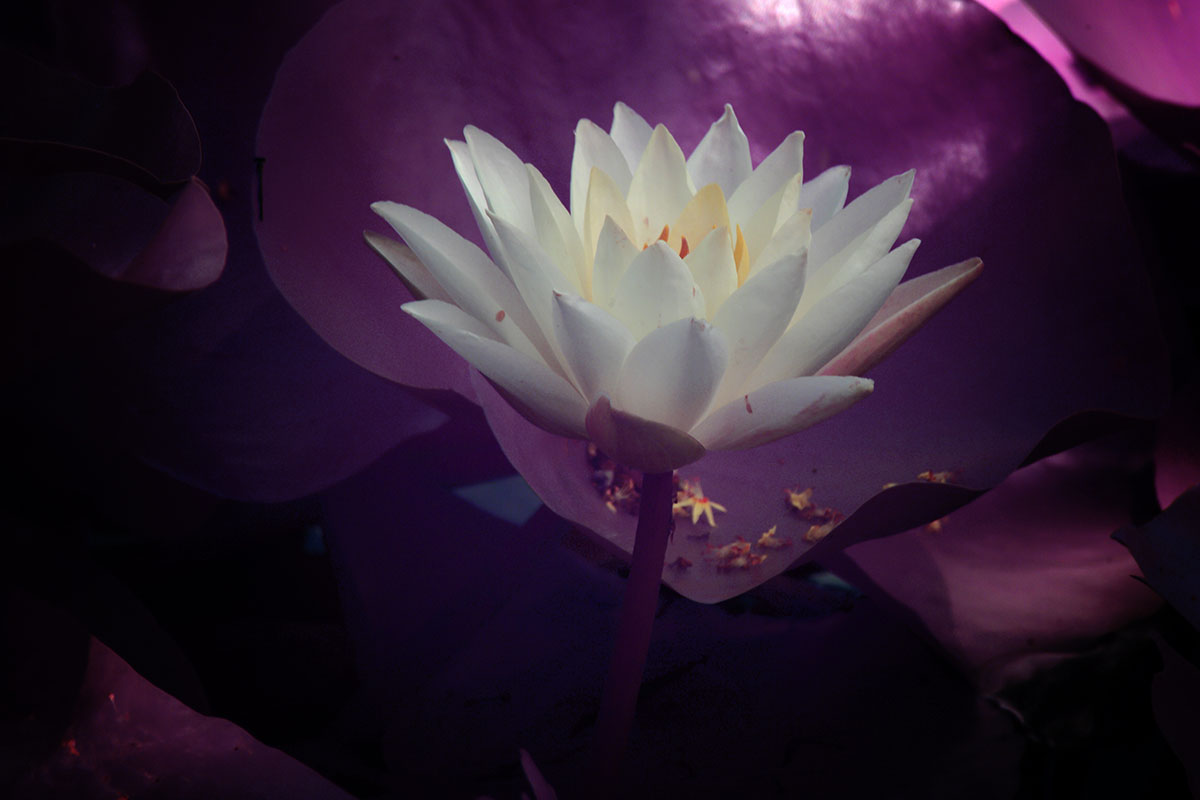
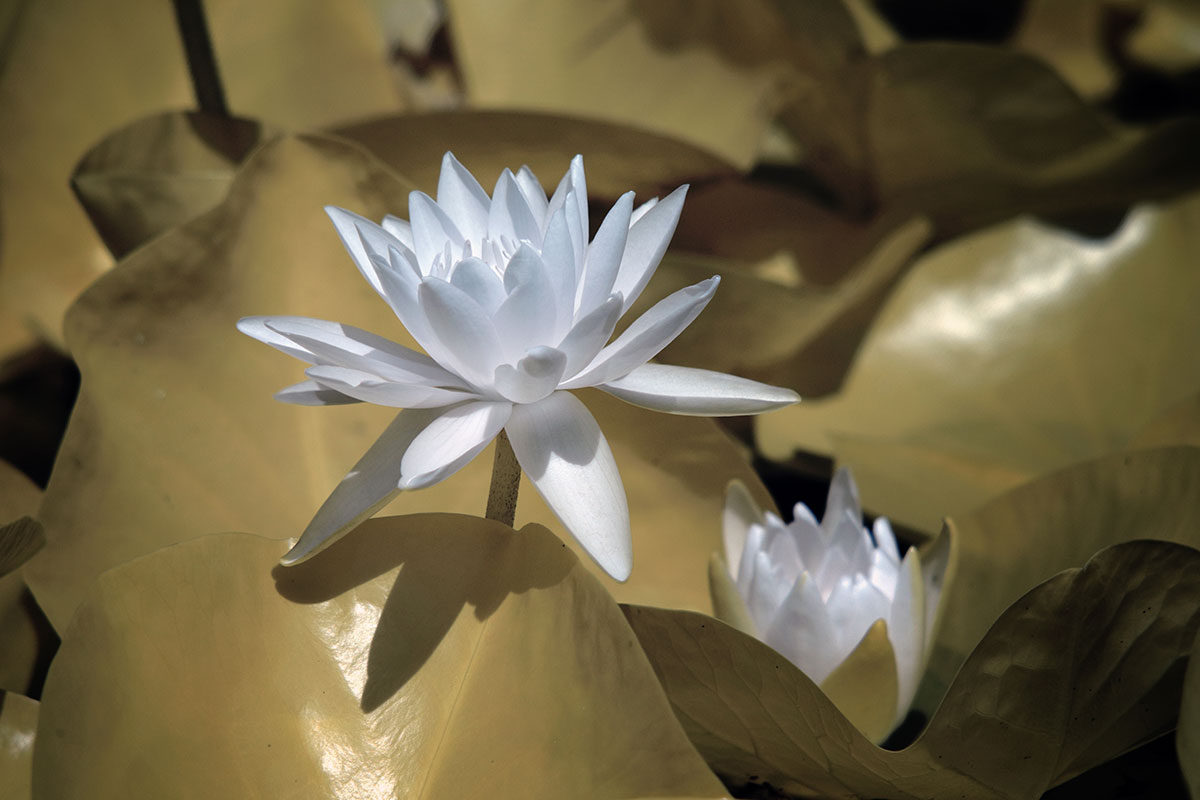
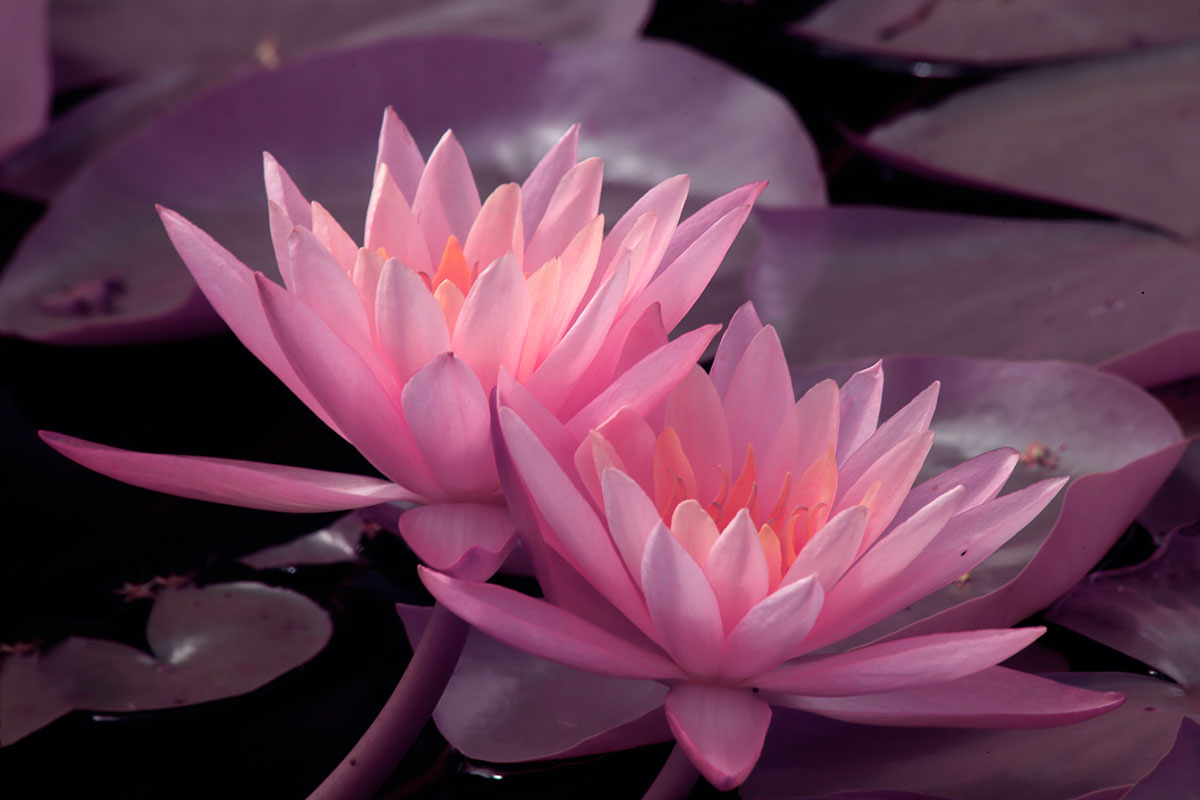
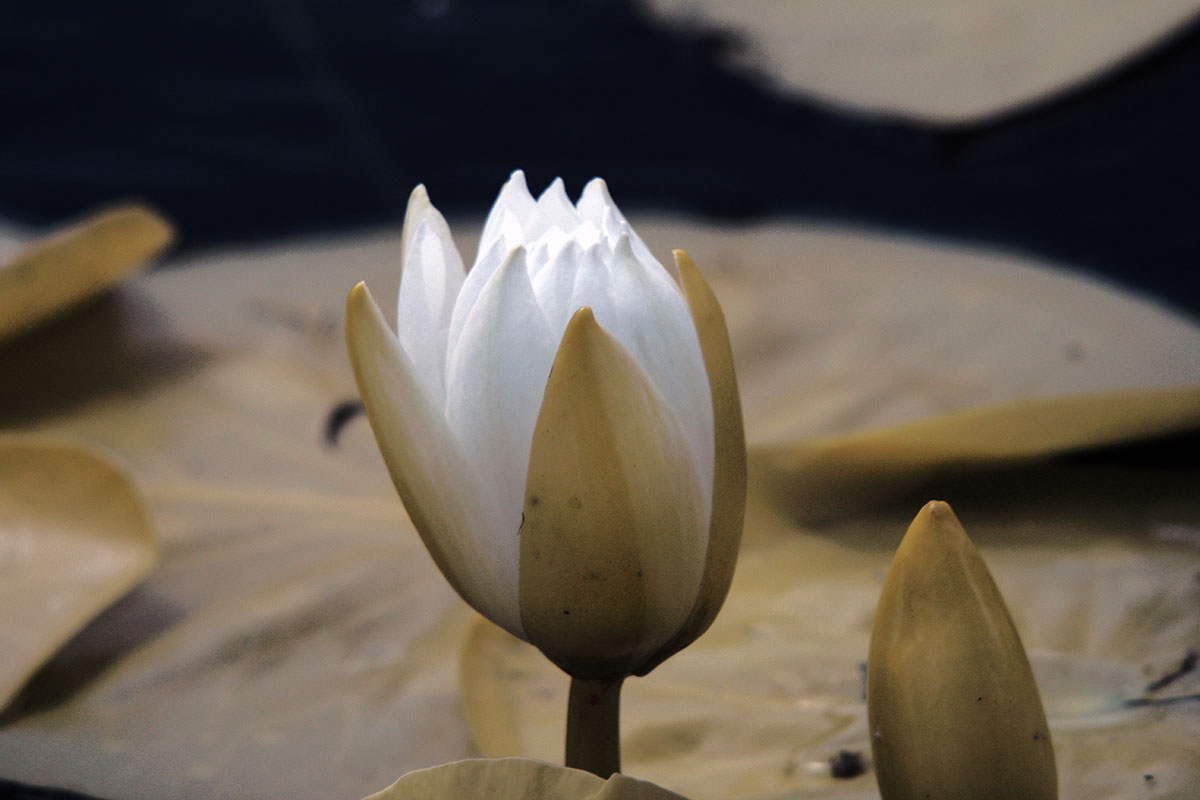
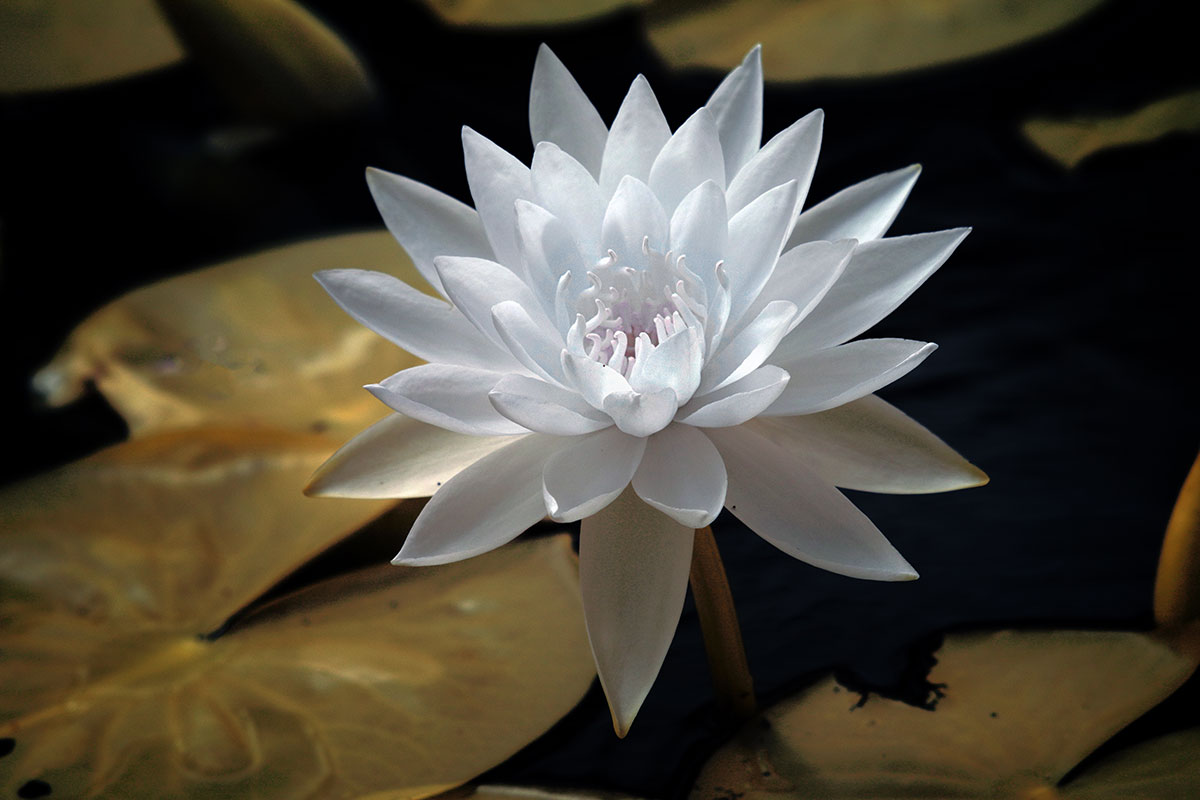
Now here are a few images to encourage you to go out and make some IR Water Lilies of your own.

Now it’s your turn, but don’t wait, it’s 3 1/2 weeks until Fall and then the Water Lilies will be gone until next year.
Latest articles by Dan Wampler (see all articles)
- Seal Bay photoshoot - March 7, 2023
- Major Copyright Infringement site Scroller.com - March 6, 2023
- Kangaroo Island Wallabies and Roos - March 1, 2023
Dan Wampler
Dan Wampler is a digital artist from St Louis, MO. Having been interested in art and photography since childhood, he spent most of adult life working for Kodak and in the portrait photography industry. A student of the works of Ansel Adams, Any Warhol, and David Hamilton, Dan attempted to keep a wide range of artistic style.
As an early adopter of digital imaging, he found it gave him a way to completely incorporate art and photography. Began shooting Digital Infrared in 2004, and had first camera converted in 2006. His work has been seen in numerous gallery shows, is featured in an iTunes app. He produces Infrared and natural color digital art for sale and teaches his post-production techniques online.
Dan is LifePixel's Creative Director, social media manager, lead blog author, main workshops and training sessions instructor. His images appear in this gallery and throughout the website.
If you have a topic suggestion or request feel free to shoot him an email at danwampler@lifepixel.com
Otherwise all LifePixel customer service inquires should be directed to service@lifepixel.com or by phone at 866-610-1710.
View more of Dan's work on his Website | Facebook
See All Articles by Dan Wampler


Leave a Reply