Coastlines and beaches are wonderful places to photograph and have the potential to produce stunning images. The combination of natural rock formations, beautiful sunrise or sunsets, dramatic weather, the sea and even people can offer almost unlimited photo opportunities. Here are 10 tips to help you capture better coastline photos.
Check The Weather
First and foremost, before any photographic trip to the coast you should check the weather to check what you are dealing with and what you will need. Often in landscape photography an overcast sky can mean boring and uninspiring photos, but with beaches and coastlines you do have the opportunity to capture good photos even in these weather conditions but it does pay to be ready.
For example, if it’s looking like it’ll be raining you will need something like a towel to keep your camera dry and wipe your lens. If it’s going to be windy you might need something like a heavy bag to weigh down your tripod if you are going to be using a long exposure. Weather on the coast can change quickly so make sure you are prepared.
Be Aware Of The Tide
After you have checked the weather, you should also check the tide times. This is important for two reasons. Firstly to ensure your own safety, especially if you are planning to go to parts of the beach/coast where you may get trapped if the tide moves in. Two because when the tide moves out it might reveal some of the fascinating rock formations that you can use as points of interest.
Don’t leave it to chance, the tide can move in very quickly and can become very dangerous quicker than you can notice especially if you are concentrating on taking photos.
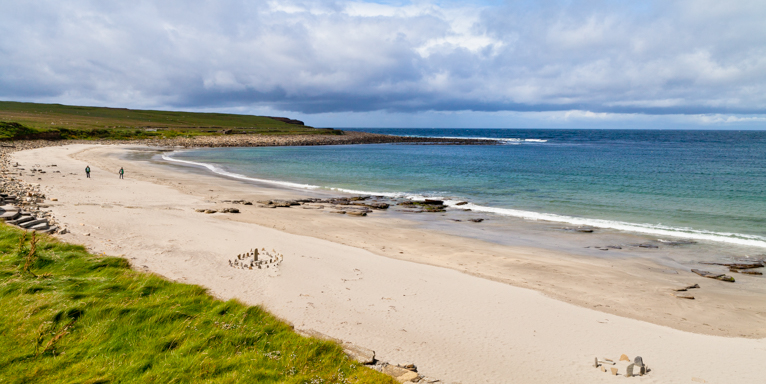
Point Of Interest
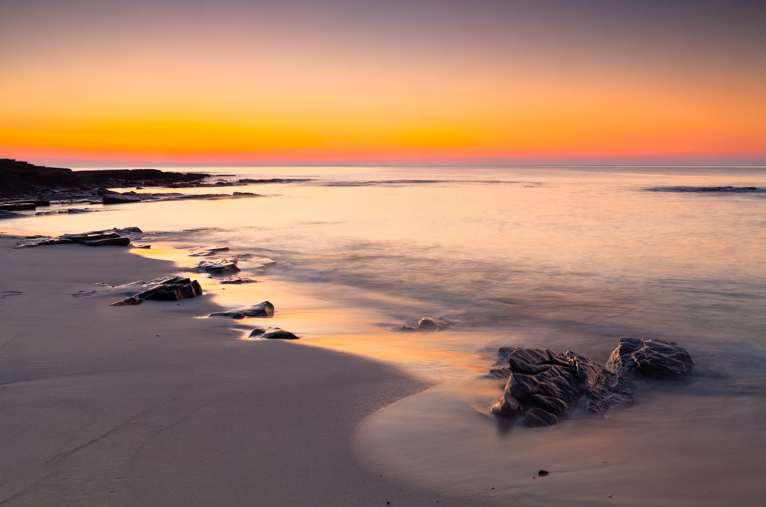
Often one of the biggest flaws with photographs of beaches and coastlines with newbie photographers is that they are missing a point of interest. I always remember the picture editor of a big guidebook publisher telling me that the one type of photograph he hated more than anything else was people sending him pictures of sunsets from the beach.
Great photographs of the coast or beach usually have a point of interest that helps the viewer navigate the composition but also create some interest. This could be a rock formation in the water, driftwood on the beach or even people. Whatever the point of interest is, think about the placement carefully and frame your photo around it.

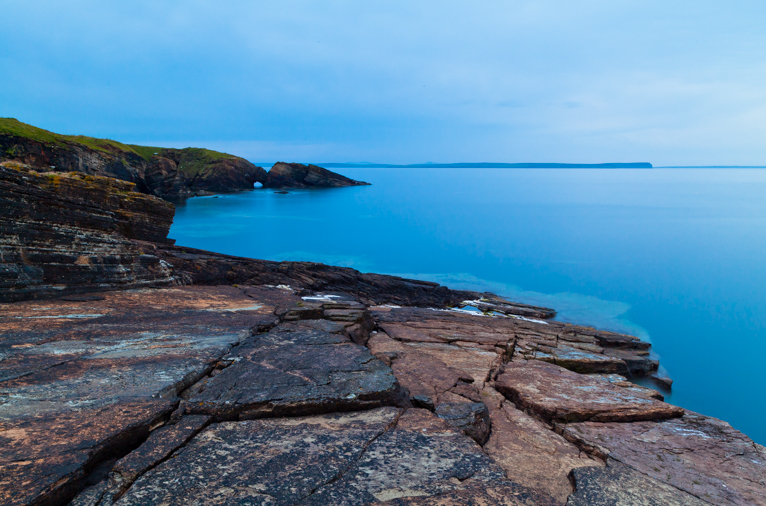
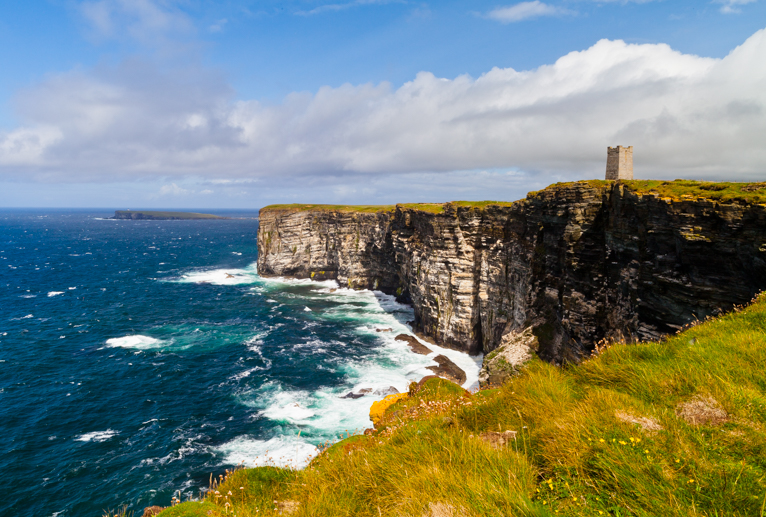
Get Up High
One of the best ways to show beaches or coastline is from up high. Not only does this help portray the scale of the scene but it can also help you capture a vast sky, which in turn can mean dramatic weather conditions. The great thing about coastlines is that you would usually have to go down to get to the beach or shoreline so you shouldn’t have trouble getting high up. But even if you are on beach that is pretty flat, most of the time you can still climb a sand dune or small hill nearby to get a slightly more elevated position.
Consider Time Of Day
A great photo needs a number of elements to all work together in harmony for a great photo. The subject matter is important (i.e. what you are photographing). How you frame your shot and the technical elements such as correctly focusing and using the correct shutter speed and aperture are all vital and the other key component is light. The intensity, temperature and direction of the light source will all need to be considered as they all have an impact on how your photo will look.
Early morning or late afternoon (the time before and after sunrise and sunset) which is commonly known as the golden hour will give you a soft golden light, whereas the midday sun will be harsh. So whatever you decide, consider the time of day that you are planning to shoot carefully as it will make a huge difference to your photo.
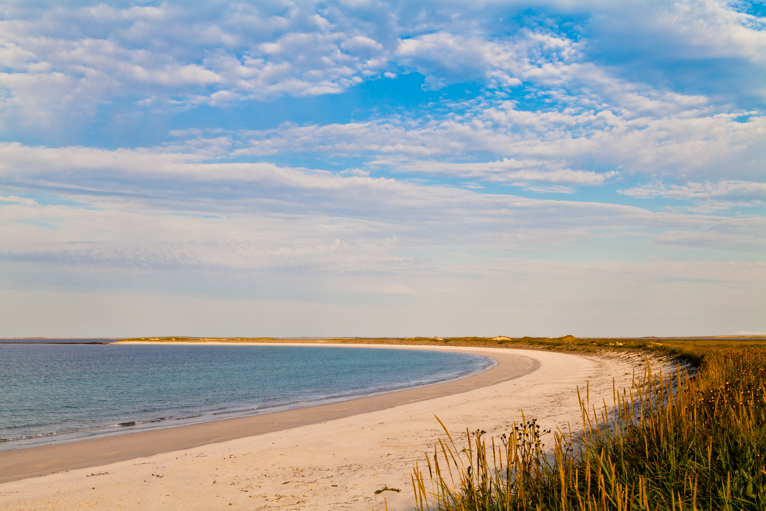
Use Rule Of Thirds
The rule of thirds is a commonly used technique that even most newbie photographers have heard of. But whilst a lot photographers use it for placement of the point of interest on the intersections of the crossed lines, what often gets missed is the placement of the horizon. You should ideally place your horizon either near the top horizontal line (if you have an interesting foreground) or near the bottom horizontal line if you have an interesting sky. Try to avoid putting your horizon near the middle of the image if possible as it will make the image look flat.
What you decide will depend on the scene in front of you, but one thing is certain, you need to ensure your horizon line is straight.
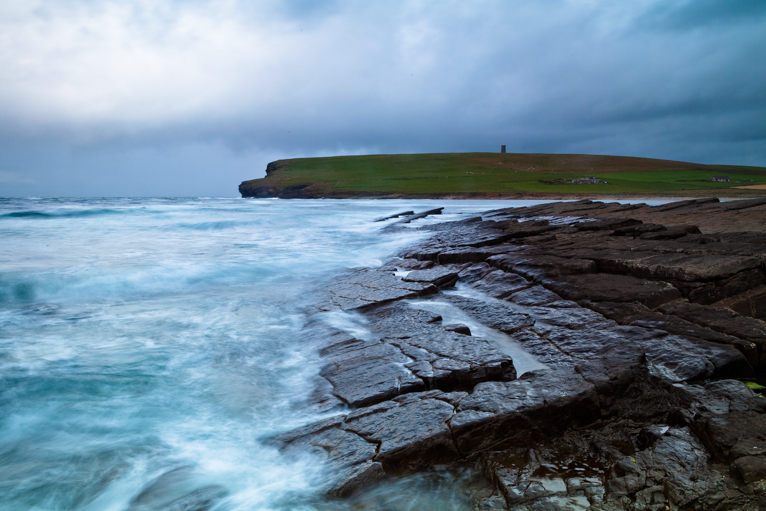
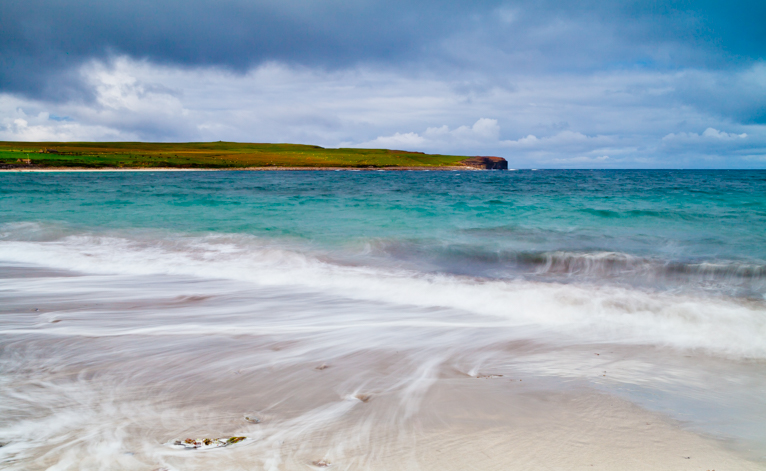
Choose Your Exposure Time
Do you want silky smooth water or do you want to capture every drop of the waves crashing against the rocks? Your exposure time will determine what your photo will look like. Go for a long exposure and you’ll get a dynamic image that shows movement in the sea and possibly the clouds in the sky. A shorter exposure (or faster shutter speed) will freeze the action. Choose your exposure time based on the type of finish you want to achieve.
Depending on the wind speed (movement of the waves or sky) your exposure time could vary but start from around 1/30 sec or slower if you are looking for smooth water and 1/200 sec or faster if you want to freeze the action.
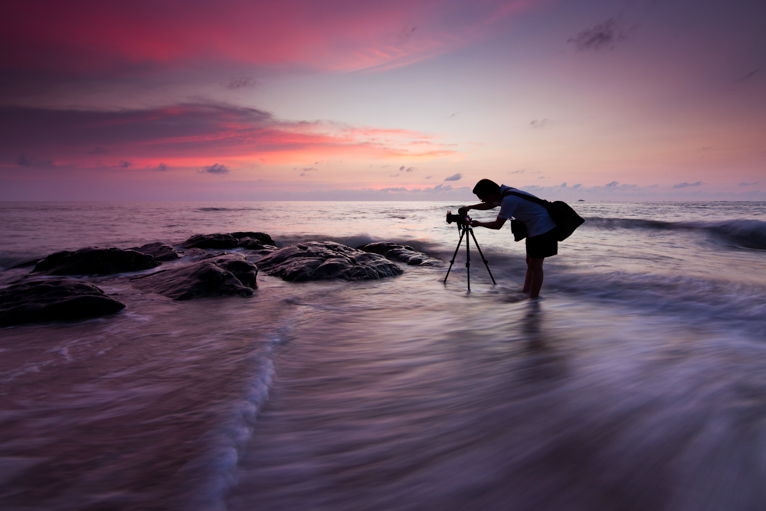
Have a Tripod
If you are wanting to photograph using long exposure, then you will not be able to do so without a tripod as no matter how steady you think you are holding the camera there is no way you can keep it perfectly still for even a few seconds. Even the tiniest movement will cause camera shake and make the image blurry. Anything slower than 1/80 sec and most people will struggle to keep the camera steady so make sure you have a good sturdy tripod with you if you are photographing in low light conditions such as sunrise and sunset.
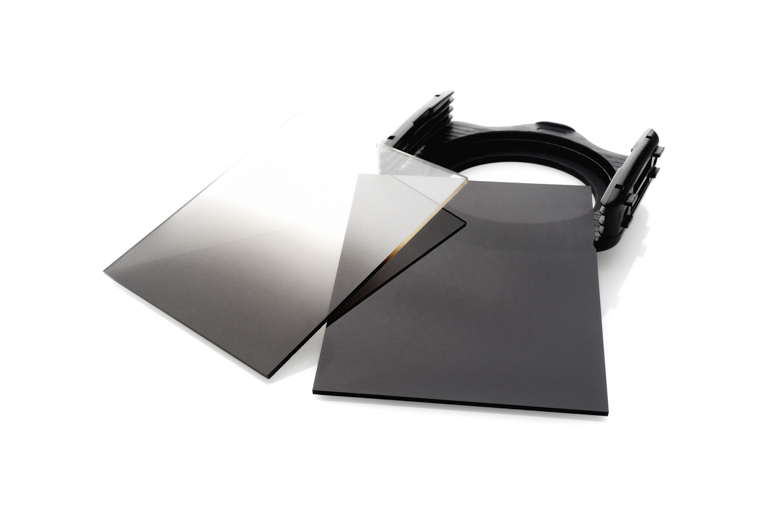
Don’t Forget Your Filters
One of the biggest challenges for any landscape photographer working around sunrise or sunset times is the difference in the contrast between bright areas (highlights) and dark areas (shadows). The problem you face when photographing at these times is that usually you’ll have a bright sky but a dark foreground which means one will have to be sacrificed for the other to be exposed correctly.
One solution is to use a technique called “exposure bracketing” which means taking multiple shots but for example exposing one for the highlights and one for the shadows and merging the photos together in post-production. Whilst this is perfectly acceptable most photographers would prefer to get the shot as near to correct as possible when taking the photo.
This is where gradual density filter can be invaluable. They can help darken the bright areas whilst keeping the dark areas light and thus meaning you get a correct exposure across the two.
Other filters such as neutral density filters (without the gradient) are useful when you want to make the scene darker, for example, for longer exposure times (i.e. if you wanted to capture silky smooth water in the middle of the day for example). The other filter that is usually invaluable when photographing near water is a polarizing filter that helps minimize reflections in the water as well as giving you brighter and more saturated blues (and greens).
Look After your Camera
Photographing near the coast means you will be facing arguably the two most problematic elements for modern cameras – salty seawater and sand. Needless to say that getting either on your sensor can leave you with a hefty repair bill so try not to change lenses if you can, especially on windy days. If you do need to change your lens, try to do so away from the sea and shielding against the wind with your back. Try to do it as quickly as possible. Once you have finished shooting for the day, make sure you wipe your camera clean of any sea salt or sand.

Photographing the coast can provide stunning shots that will leave people in awe but capturing great shots of these places isn’t always easy. Follow these simple tips and you’ll be taking better photos of the coastline in no time.
Photo credits: Kav Dadfar – All rights reserved. Dreamstime. No usage without permission.
Latest articles by Kav Dadfar (see all articles)
- How To Photograph Street Performers - April 26, 2022
- Profiled Photographers – Ben McKechnie - August 24, 2021
- Profiled Photographers – Jim Maher - August 24, 2021
is the founding editor of JRNY Travel Magazine as well as a professional travel photographer and writer based in the UK. His images have been used by clients such as Condé Nast, National Geographic, Lonely Planet, Rough Guides and many others. Kav is also the co-founder of That Wild Idea, a company specializing in photography workshops and tours both in the UK and around the world.
See All Articles by Kav Dadfar


Leave a Reply